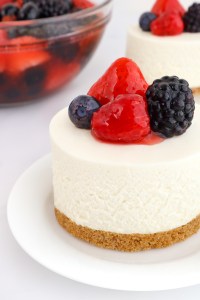
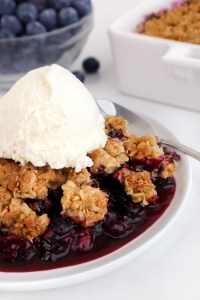
No-bake cheesecake doesn’t always get the credit it deserves, but this recipe rivals even the best baked cheesecakes. While there is technically a baking step, the extra 10 minutes to bake the graham cracker crust definitely pays off: it improves both the flavor and structure of the crust, creating a sturdier base and a more professional-looking cheesecake.
This is a great make-ahead recipe, and I actually think it gets even better after a full day in the fridge, as the flavor and texture continue to develop!
FAQ
Why do you bake the graham cracker crust for a no-bake cheesecake?
Baking the graham cracker crust helps it set and hold its shape when sliced. While it’s not absolutely necessary for a no-bake cheesecake, I prefer the sturdier texture and cleaner slices. Just be sure to let the crust cool completely before adding the filling.
How do I know when a no-bake cheesecake is fully set?
A properly set no-bake cheesecake should feel firm to the touch and hold its shape when the sides of the springform pan are removed. For the best texture and clean slices, I recommend chilling it for at least 12 hours before serving.
How long will no-bake cheesecake keep in the fridge?
No-bake cheesecake can be stored tightly covered with plastic wrap in the fridge for up to 5 days. I recommend enjoying the mixed berry topping within 3 days so the berries stay fresh. Store the topping separately in an airtight container in the fridge, and spoon it over the cheesecake just before serving.
Can I make this no-bake cheesecake ahead of time?
Absolutely! No-bake cheesecake is an excellent make-ahead dessert because it needs time to chill and set. In fact, the flavor and texture improve as it rests in the fridge. You can prepare it up to 2 days in advance and keep it tightly covered with plastic wrap until you’re ready to serve.
Can I freeze this no-bake cheesecake?
Yes! You can freeze the cheesecake (without the mixed berry topping) for up to 2 months. When ready to serve, thaw it overnight in the fridge, then make the mixed berry topping fresh and spoon it over the cheesecake just before serving.
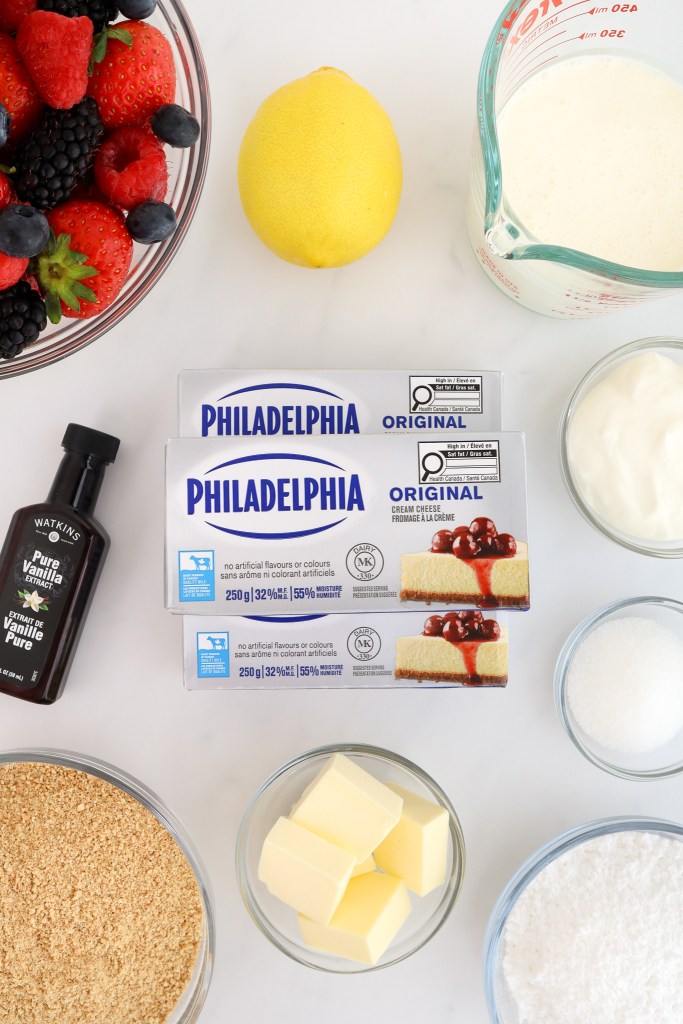
Preparing the Graham Cracker Crust
Preheat your oven to 350℉.
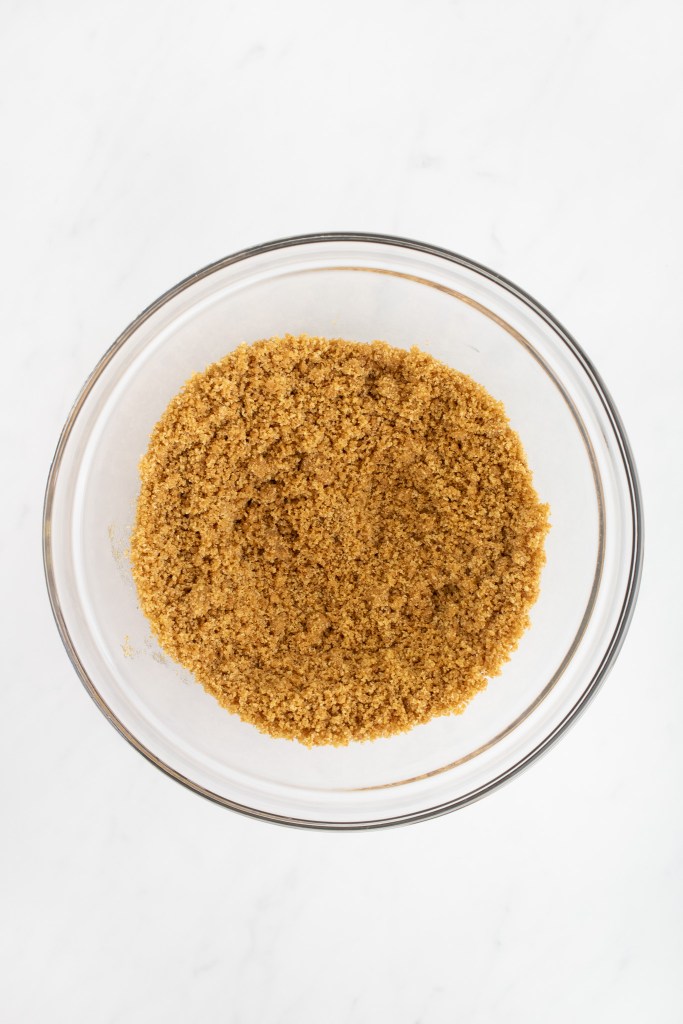
In a large bowl, combine the graham cracker crumbs and granulated sugar. With a fork, stir until well combined. Pour in the melted butter and continue to stir together until the mixture is the consistency of wet sand.
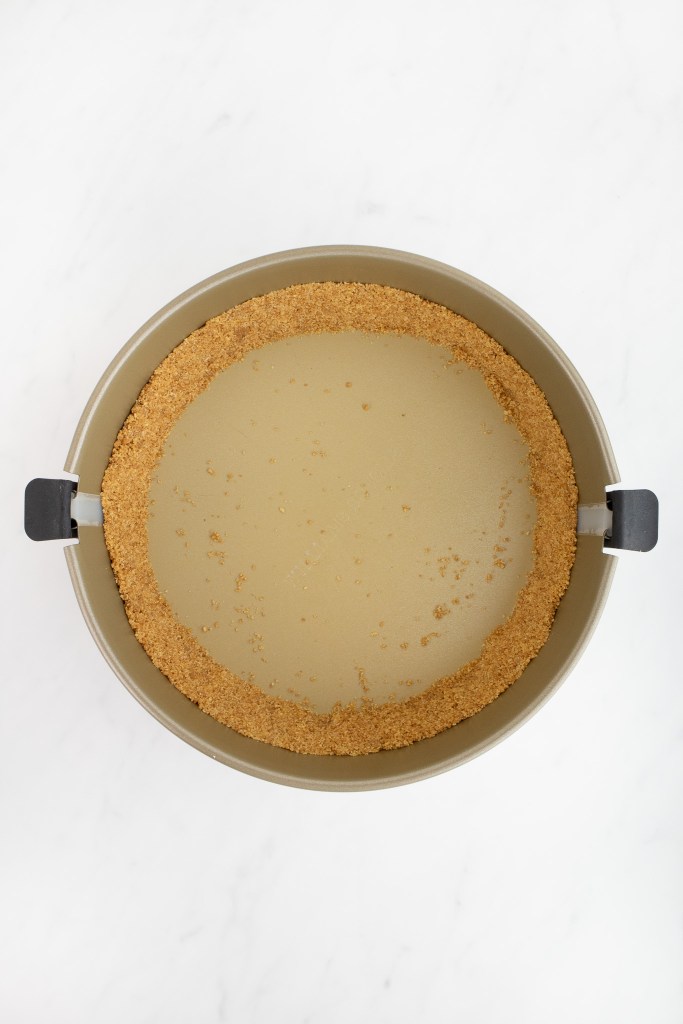
Sprinkle about ⅓ to ½ of the mixture around the inner edge of a 9” springform pan, pressing it gently into the sides of the pan to form an edge about 1” high. (I use the side of my measuring cup to help press the crust in smoothly.)
Sprinkle the remaining graham cracker mixture evenly across the bottom of your springform pan and gently press it down, forming a uniform layer.
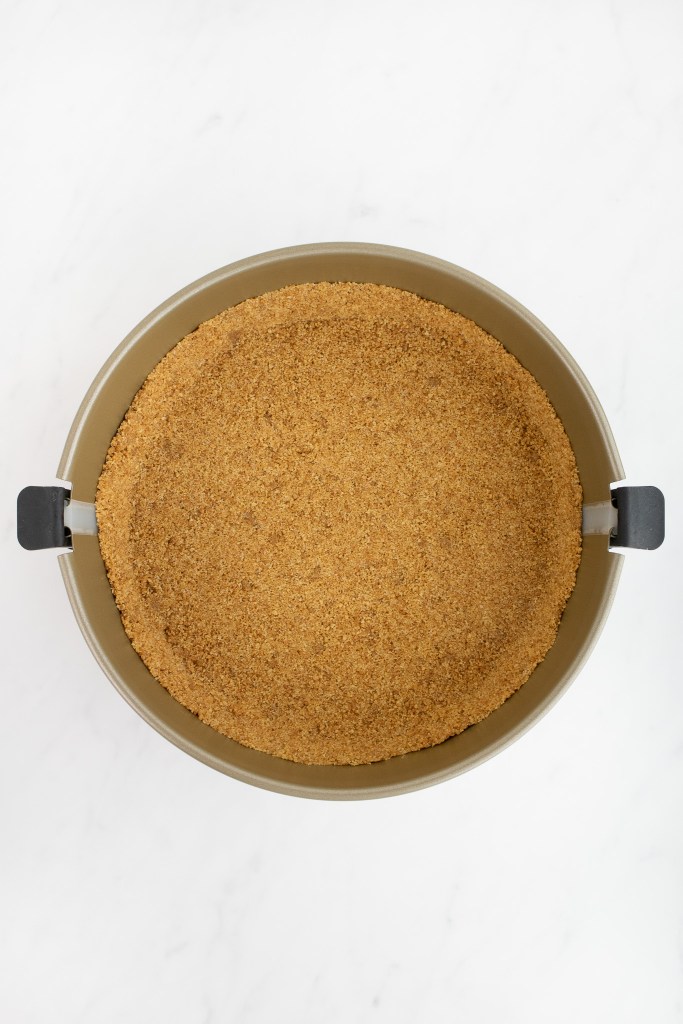
Set the pan into the center of the preheated oven. Bake the crust for 10 minutes. Set the pan on a wire rack to cool for 20 minutes, then transfer it to the fridge to cool completely while preparing the cheesecake filling.
Preparing the Cheesecake Filling
In a large bowl, beat the cream cheese until it is smooth and creamy using an electric hand mixer, ensuring there are no lumps.
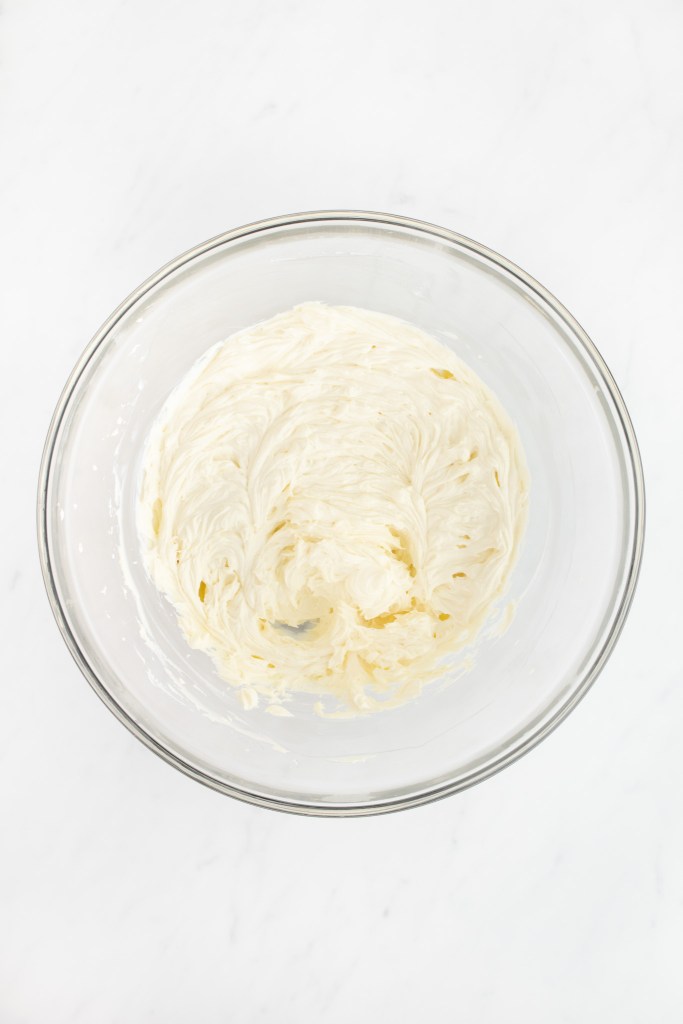
Next, sift in 1 cup of powdered sugar and continue mixing until fully combined, scraping down the sides of the bowl with a rubber spatula as necessary.
Beat in the sour cream, kosher salt, vanilla, lemon zest, and lemon juice until combined.
Note: I recommend starting with 1 teaspoon of lemon juice, tasting the filling and adding any additional lemon juice as preferred.
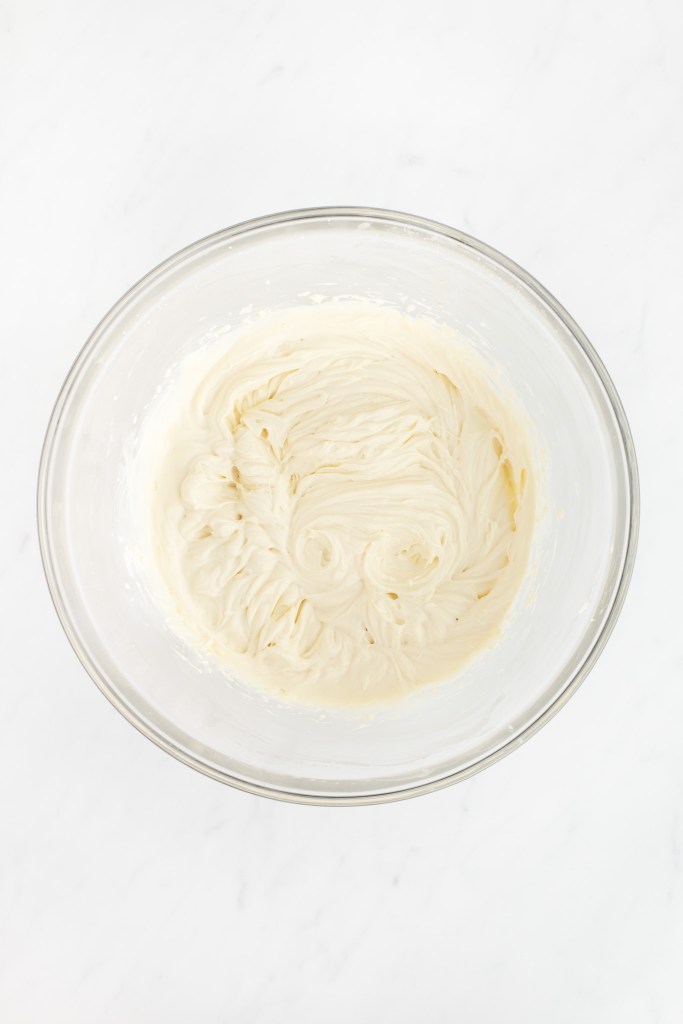
In the bowl of a stand mixer fitted with the beater attachment (or a second clean bowl), whip the heavy cream and 2 Tablespoons of powdered sugar until it forms medium firm peaks.

Fold the whipped cream into the cream cheese mixture, one-third at a time. Fold the mixture just until combined, being careful not to deflate the cream as much as possible.
Assembling the Cheesecake
Remove the fully cooled crust from the fridge and spread the cream cheese filling into the pan, smoothing the top with an offset spatula or the back of a spoon. Gently tap the pan on the counter a couple of times to prevent any air pockets.
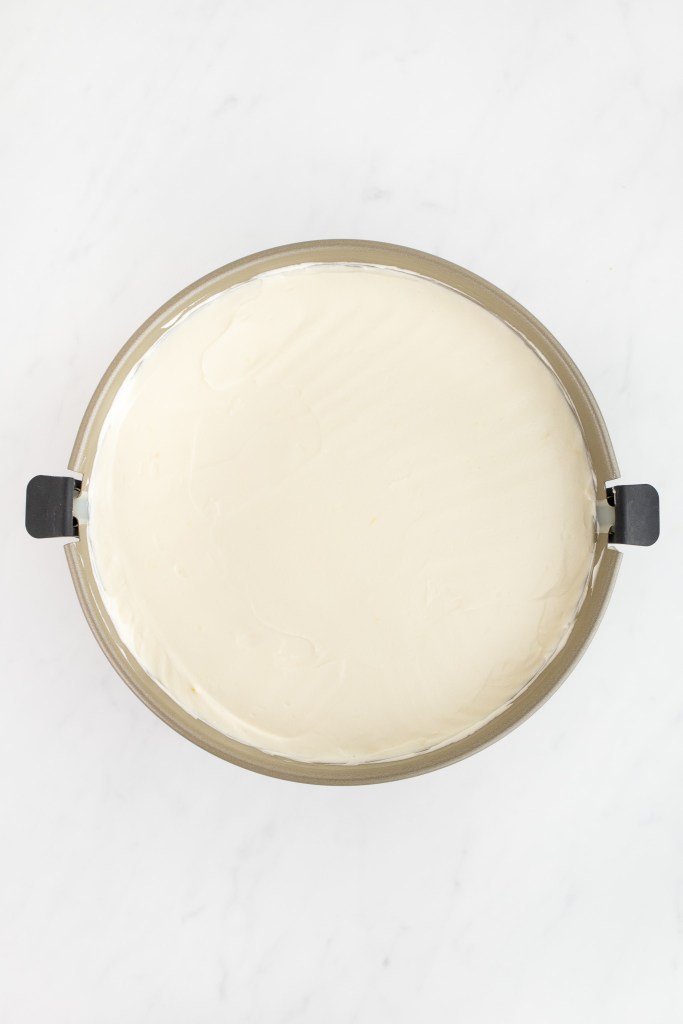
Cover the cheesecake tightly with plastic wrap and chill it in the refrigerator for at least 12 hours.
Pro tip: The longer the cheesecake sits in the fridge, the better the final texture and flavor will be!
Preparing the Mixed Berry Topping
In a large saucepan set over low heat, combine the strawberries, sugar, and lemon juice. With a spoon, stir just until the sugar has dissolved.
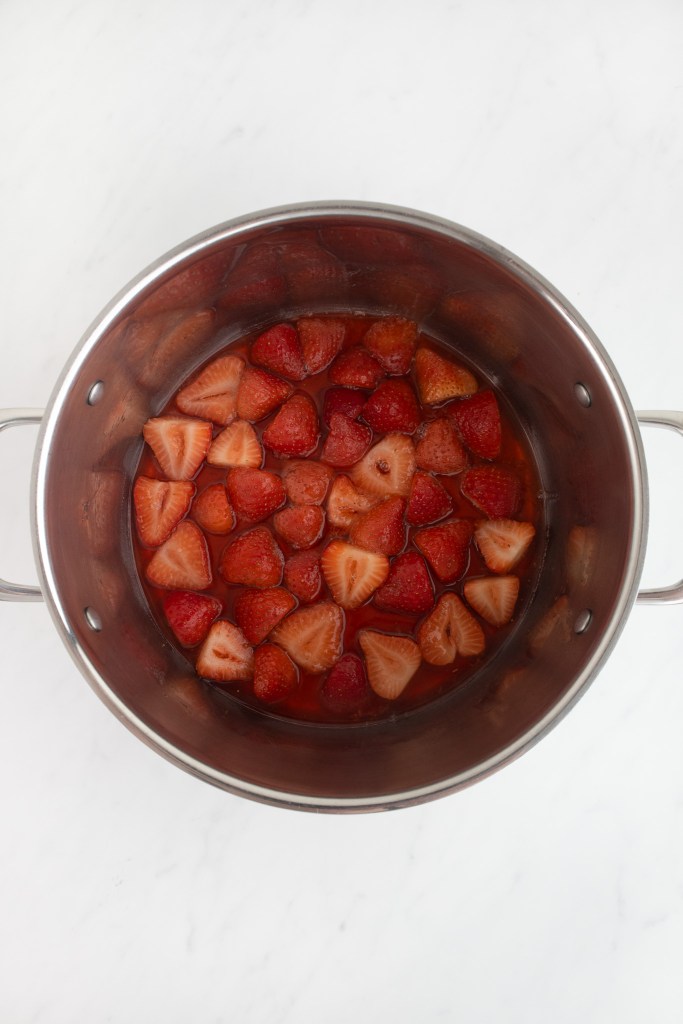
Continue to heat over low heat until the strawberries begin to exude their juices. Occasionally, swirl the pan around until the strawberries are softened slightly. Try to avoid stirring or overcooking your berries or they will turn to mush!
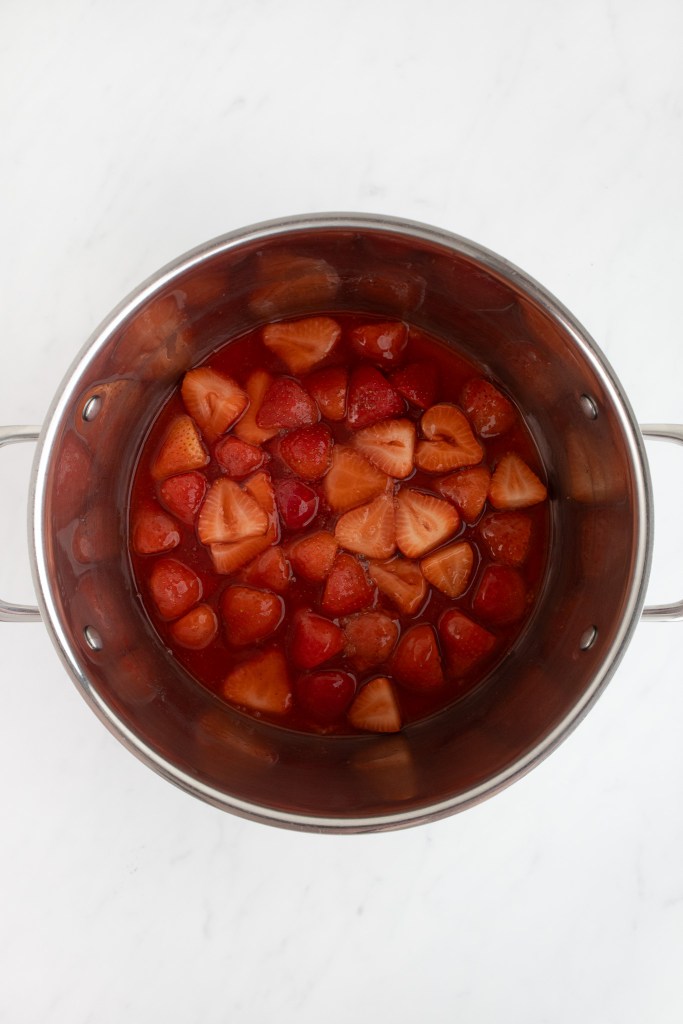
In the meantime, in a small bowl, combine the water and cornstarch. Set aside.
When the strawberries have just begun to soften, pour in the cornstarch mixture and vigorously swirl the pan around to combine. Allow the mixture to gently bubble for 60 seconds and then remove it from heat.
Stir in the blackberries and blueberries and allow the mixture to cool completely.
Pro tip: At this point, while still warm, taste your berry topping mixture to ensure you have enough sugar. Depending on the sweetness of your berries, you may want to add another teaspoon or two.
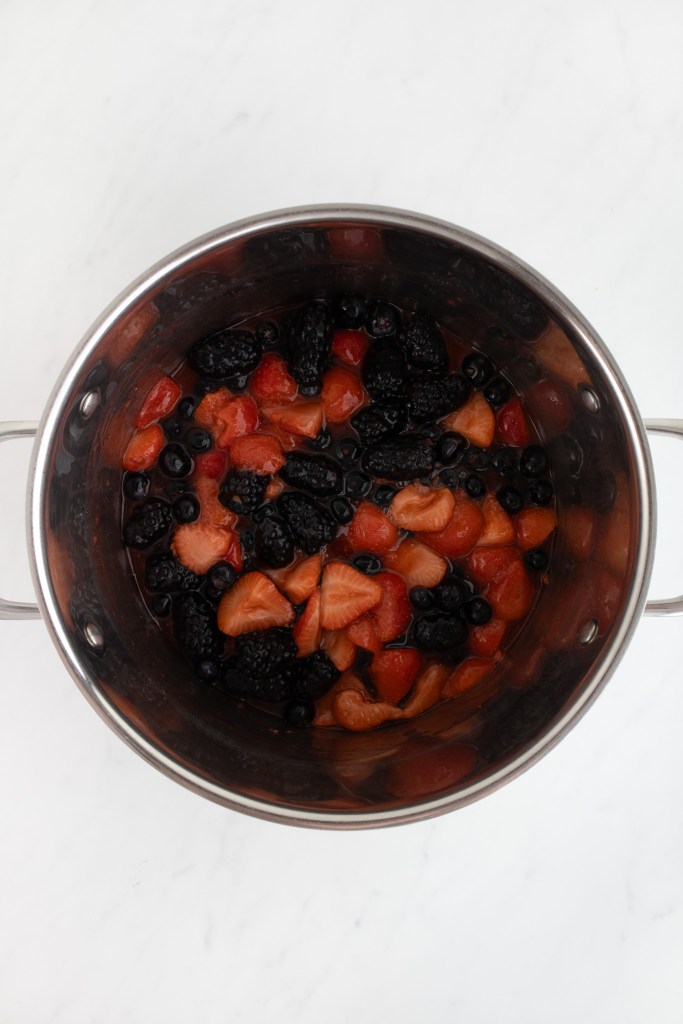
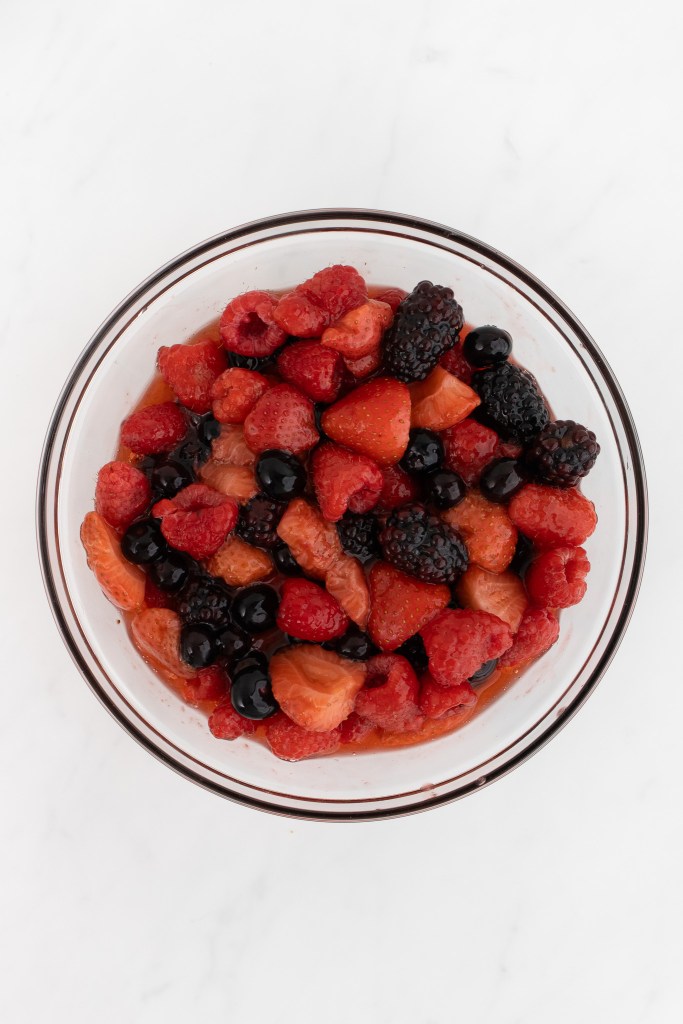
Once the mixture has fully cooled, stir in the raspberries.
Transfer the berry topping into a bowl, cover with plastic wrap, and transfer it to the fridge until ready to serve.
Serving the No-Bake Cheesecake
When ready, serve slices of the no-bake cheesecake with the mixed berry topping on the side, as desired.
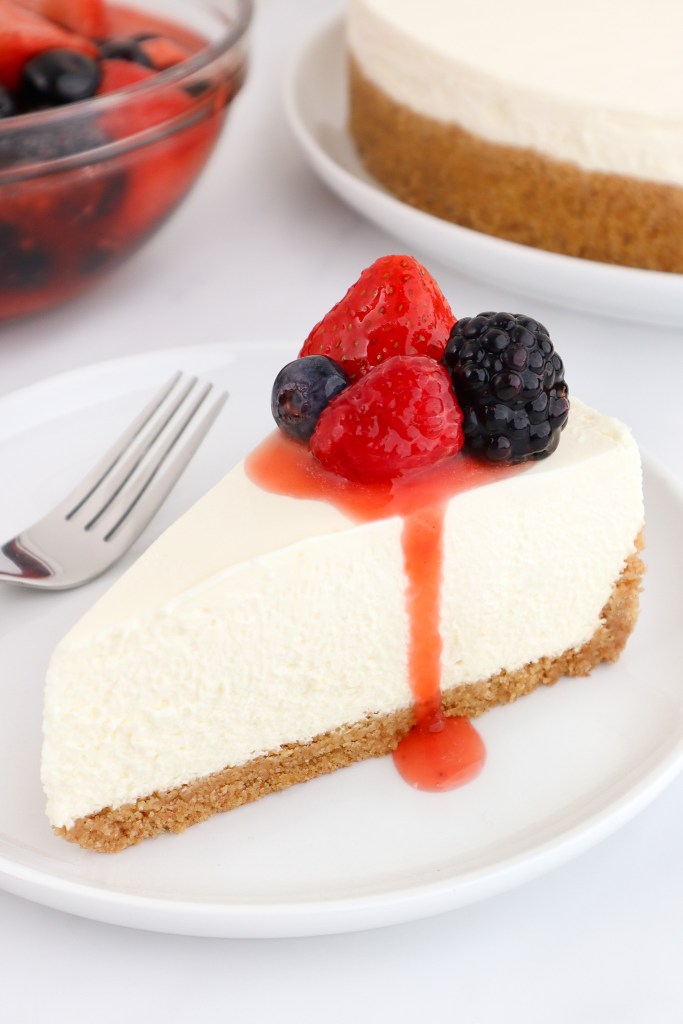
No-Bake Cheesecake (with Mixed Berry Topping)

Ingredients
For the Graham Cracker Crust
- 1 ½ cups graham cracker crumbs
- 2 Tbsp granulated sugar
- 5 Tbsp unsalted butter, melted
For the Cheesecake Filling
- 24 oz (3 blocks) full-fat cream cheese, at room temperature
- 1 cup + 2 Tbsp powdered (icing) sugar, divided
- ⅓ cup sour cream
- ¼ tsp kosher salt (I use Diamond Crystal)
- 2 tsp pure vanilla extract
- 1 heaping tsp lemon zest
- 1 tsp freshly squeezed lemon juice (use 2 tsp for extra tang)
- 1 ¼ cups heavy cream
For the Mixed Berry Topping
- 1 lb fresh strawberries, halved
- ½ pint fresh blueberries
- ½ pint fresh raspberries
- ½ pint fresh blackberries
- ¼ cup granulated sugar (plus more to taste)
- 2 Tbsp freshly squeezed lemon juice
- 2 Tbsp water
- 2 ½ tsp cornstarch
Instructions
Preparing the Graham Cracker Crust
- Preheat the oven to 350℉.
- In a large bowl, combine the graham cracker crumbs and sugar. Stir with a fork until well combined. Pour in the melted butter and continue stirring until the mixture reaches the consistency of wet sand.
- Sprinkle about ⅓ to ½ of the mixture around the inner edge of a 9” springform pan, pressing it gently into the sides of the pan to form an edge about 1” high. (I use the side of a measuring cup to press the crust in smoothly.)
- Sprinkle the remaining graham cracker mixture evenly across the bottom of the springform pan and gently press it down to form a uniform layer.
- Bake the crust in the center of the oven for 10 minutes.
- Transfer the pan to a wire rack to cool for 20 minutes, then to the refrigerator to cool completely while preparing the cheesecake filling.
Preparing the Cheesecake Filling
- In a large bowl, beat the cream cheese with an electric hand mixer until smooth, creamy, and free of lumps.
- Sift in 1 cup of powdered sugar and mix until fully combined, scraping down the sides of the bowl with a rubber spatula as necessary.
- Beat in the sour cream, salt, vanilla, lemon zest, and lemon juice until combined.Note: I recommend starting with 1 tsp of lemon juice, tasting the filling, then adding additional lemon juice if you prefer more tang.
- In the bowl of a stand mixer fitted with the whisk attachment (or a clean bowl), whip the heavy cream and the remaining 2 Tbsp of powdered sugar until medium-firm peaks form.
- Gently fold the whipped cream into the cream cheese mixture, one-third at a time, until well combined, working carefully to avoid deflating the cream.
Assembling the Cheesecake
- Remove the fully cooled crust from the refrigerator and spread the cream cheese filling into the pan, smoothing the top with an offset spatula or the back of a spoon. Gently tap the pan on the counter a few times to release any trapped air pockets.
- Cover the cheesecake tightly with plastic wrap and chill it in the refrigerator for at least 12 hours.Pro tip: The longer the cheesecake chills, the better its final texture and flavor will be!
Preparing the Mixed Berry Topping
- In a large saucepan set over low heat, combine the strawberries, sugar, and lemon juice. Stir with a spoon just until the sugar has dissolved.
- Continue heating over low heat until the strawberries begin to exude their juices. Swirl the pan occasionally until the strawberries soften slightly. (Avoid stirring or overcooking them so they don't become mushy!)
- Meanwhile, in a small bowl, whisk together the water and cornstarch. Set aside.
- Once the strawberries begin to soften, pour in the cornstarch mixture and vigorously swirl the pan to combine. Allow the mixture to gently bubble for 60 seconds, then remove it from heat.
- Stir in the blackberries and blueberries, then allow the mixture to cool completely.Pro tip: Taste the berry topping while it is still warm to check the sweetness. Depending on the sweetness of your berries, you may want to stir in another teaspoon or two of sugar.
- Once the mixture has fully cooled, gently fold in the raspberries.
- Transfer the berry topping to a bowl, cover with plastic wrap, and refrigerate until you are ready to serve.
Notes
- Full-Size vs. Mini Cheesecakes: You can make this recipe as a single cheesecake in a 9″ springform pan, or split it into 12 mini cheesecakes using a 3″ mini cheesecake pan (click for the one I use). For mini cheesecakes, lightly brush each cavity with vegetable oil, then press strips of parchment paper (or extra-large muffin liners) against the sides of the pan before beginning. The oil helps the parchment adhere, making the chilled cheesecakes much easier to lift out of the pan.