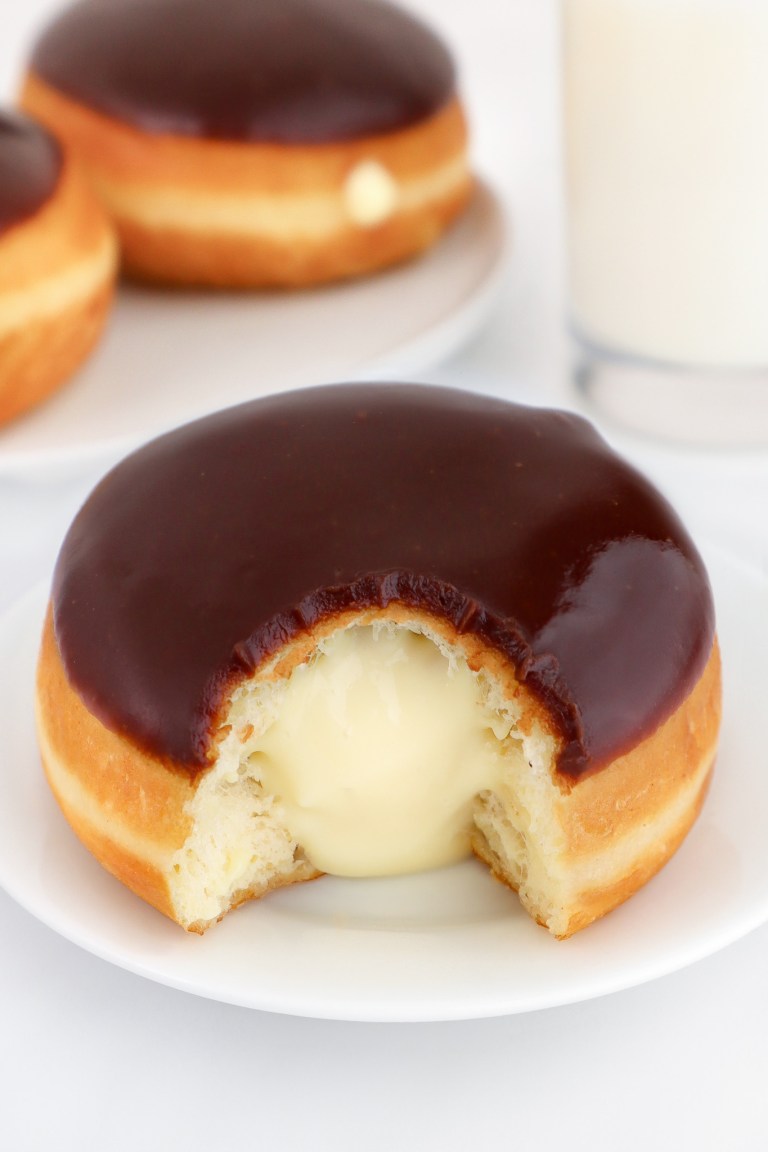
Boston cream donuts are a combination of two of my favorite recipes: Yeast Donuts and Pastry Cream. While there are a few different components to prepare, you can make the pastry cream and donut dough the night before, chill them in the refrigerator overnight, and continue the next morning. I find breaking the recipe up over two days, or tackling it as a weekend baking project, makes the whole process feel much less intimidating.
FAQ
How do you get the perfect white ring on homemade donuts?
The signature white ring around a donut is the result of a well-made dough, proper proofing, and correct frying. In testing, I found that the most important factor is allowing the cut donuts to proof a second time for a full 45 to 60 minutes, until they are light, puffy, and airy. This allows the donuts to float in the oil instead of sinking, creating that classic bakery-style white ring around the center.
Why are my donuts not light and fluffy?
Donuts can become heavy and dense if too much flour is added to the dough. The dough should be quite soft, so be sure to measure the flour carefully using the spoon-and-level method. Additionally, not giving the donuts enough time to proof or frying them at too low a temperature can result in dense donuts that absorb excess oil instead of becoming light and fluffy.
How do I know when yeast donuts are fully proofed?
The donuts are fully proofed when they have increased to about 1 ½ times their original size after cutting. They should look noticeably puffy and feel light and airy. You can also gently press a finger into the surface of the donut; if the indentation springs back slowly and leaves a slight impression, they’re ready to fry.
How do you store homemade Boston cream donuts?
Because they’re filled with pastry cream, Boston cream donuts should be refrigerated. For best results, store the donuts in a single layer in an airtight container in the fridge for up to 3 days. Before serving, let them sit at room temperature for 20 to 30 minutes to take the chill off.
Can I make Boston cream donuts ahead of time?
Boston cream donuts are best enjoyed fresh. That said, you can make the pastry cream and prepare the donut dough the day before. Refrigerate both overnight, then shape, proof, fry, and assemble the donuts the following day for the freshest results.
Can I freeze Boston cream donuts?
I don’t recommend freezing Boston cream donuts. The donuts tend to dry out, and the pastry cream can become grainy or separate once thawed.
Preparing the Pastry Cream
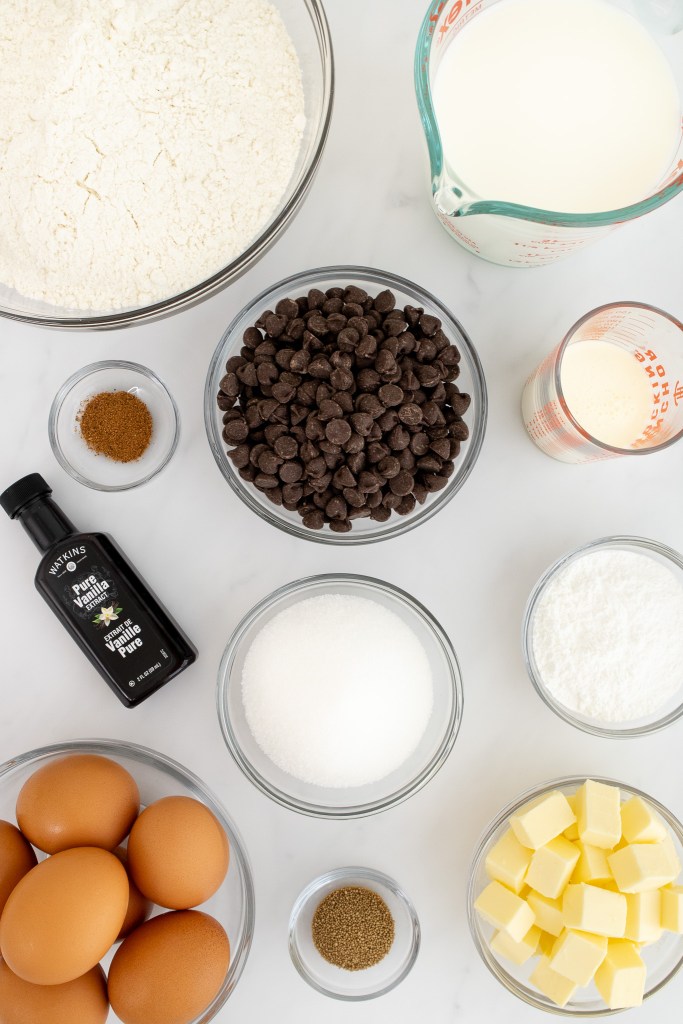
Prepare the pastry cream (click for my recipe) and allow it to chill. This can be done the day before.
Proofing the Yeast
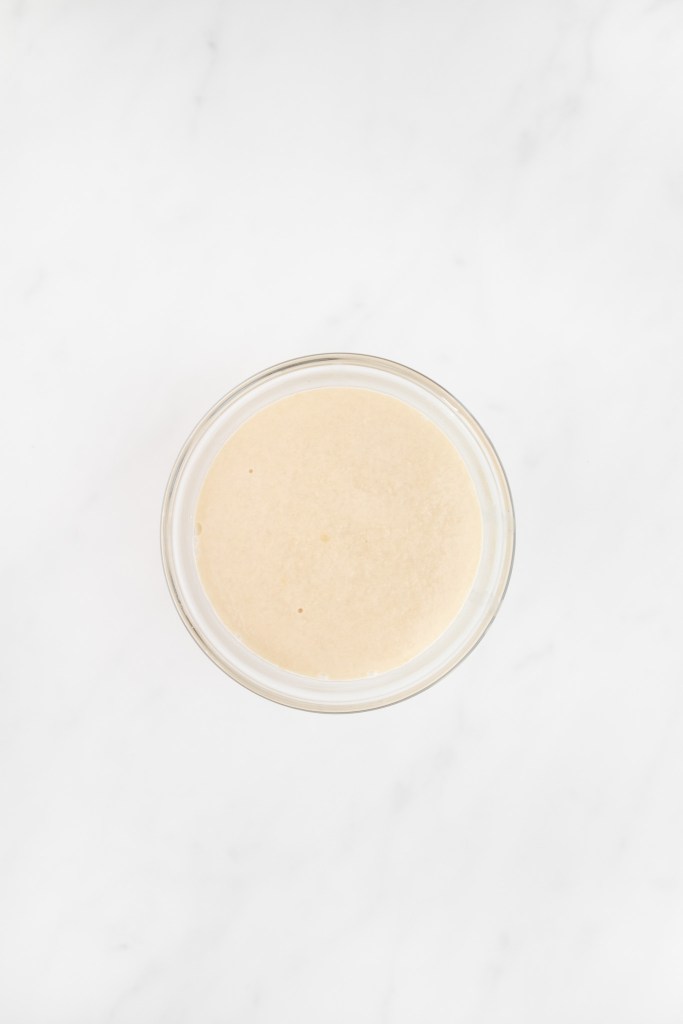
In a small bowl or glass measuring cup, mix the tepid water, sugar, and yeast. Set aside for about 5 minutes, until the yeast dissolves and the mixture begins to foam.
Preparing the Yeast Dough
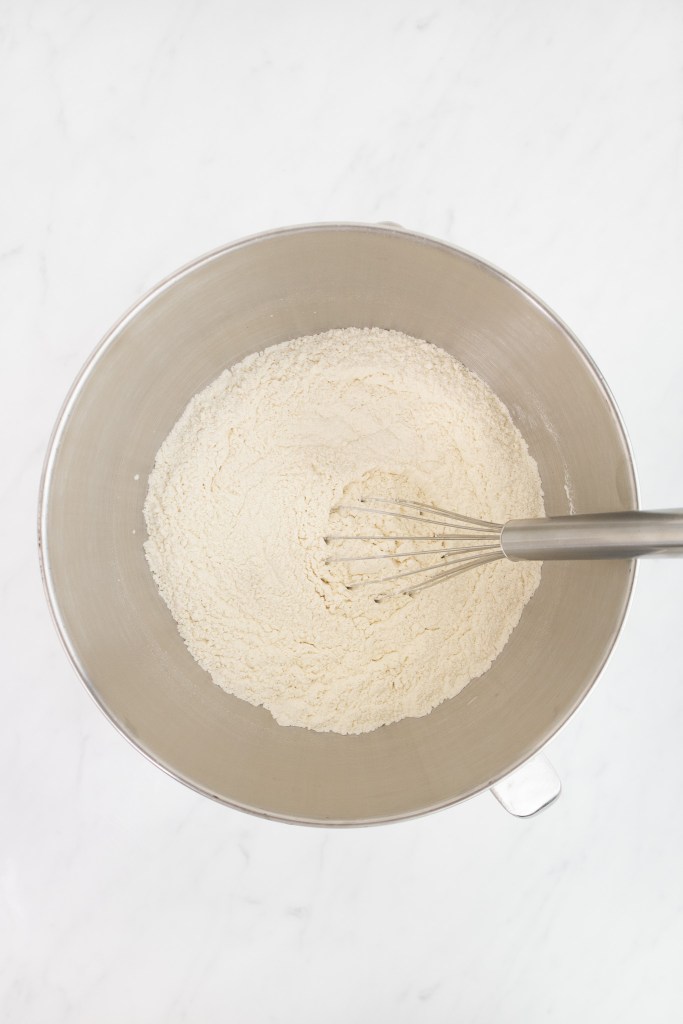
In the bowl of a stand mixer fitted with the dough hook attachment, combine the flour, kosher salt, and nutmeg. Whisk together to combine.
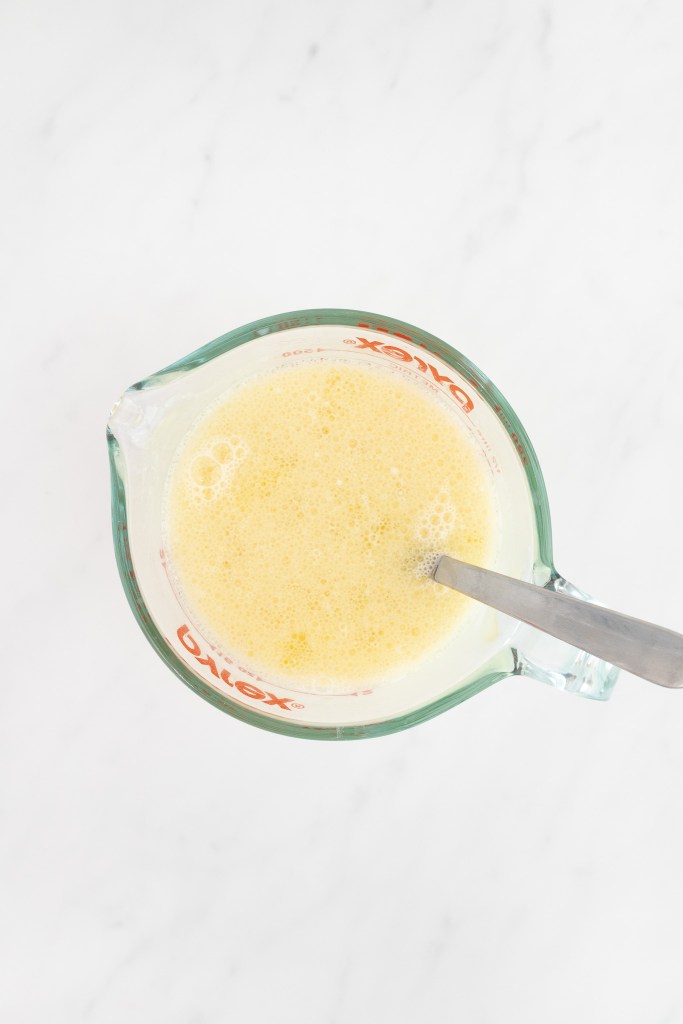
In another small bowl or glass measuring cup, whisk together the eggs, sugar, tepid milk, and vanilla.
Into the bowl of the stand mixer with the dry ingredients, pour in the liquid mixture and the proofed yeast mixture. Before turning the mixer on, with a rubber spatula, stir until there are no large patches of flour. (This will give your dough hook a head start!)
Mix on medium-low speed for about 8 to 10 minutes, until the dough is smooth, elastic, and pulls away from the sides of the bowl.
Note: The dough will seem very sticky and may not look like it’s coming together into a ball, but be patient — it just needs time!
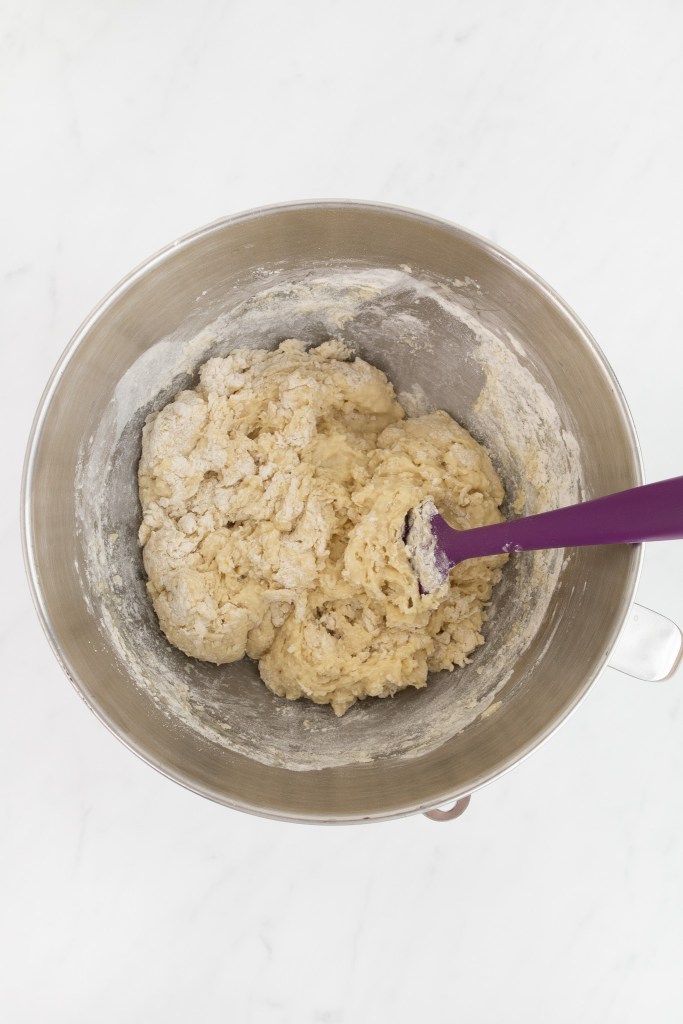
Add in the cubed butter — a few pieces at a time — and continue to mix for about 10 to 15 minutes (this will take a good chunk of time), until all of the butter has been fully incorporated into the dough and it begins to pull away from the sides and form a ball around the dough hook.
Note: Don’t get discouraged! The dough may appear gummy at first, but it should eventually pull away from the sides of the bowl as the butter fully incorporates. (You may also need to scrape down the sides of the bowl from time to time.) The finished dough should feel soft and slightly tacky — this is what gives the donuts their light, fluffy texture.

Meanwhile, lightly grease a large bowl with vegetable oil and set it aside.
Scrape the dough from the bowl and form it into a ball by folding it over itself 2 to 3 times in your hands. Again, it should feel very soft, floppy, and slightly tacky.

Place the dough into the greased bowl, cover with plastic wrap, and allow to rise at room temperature for 30 minutes. Then, chill the dough in the refrigerator for at least 4 hours (but ideally overnight), until it has doubled in volume.

Shaping and Proofing the Donuts
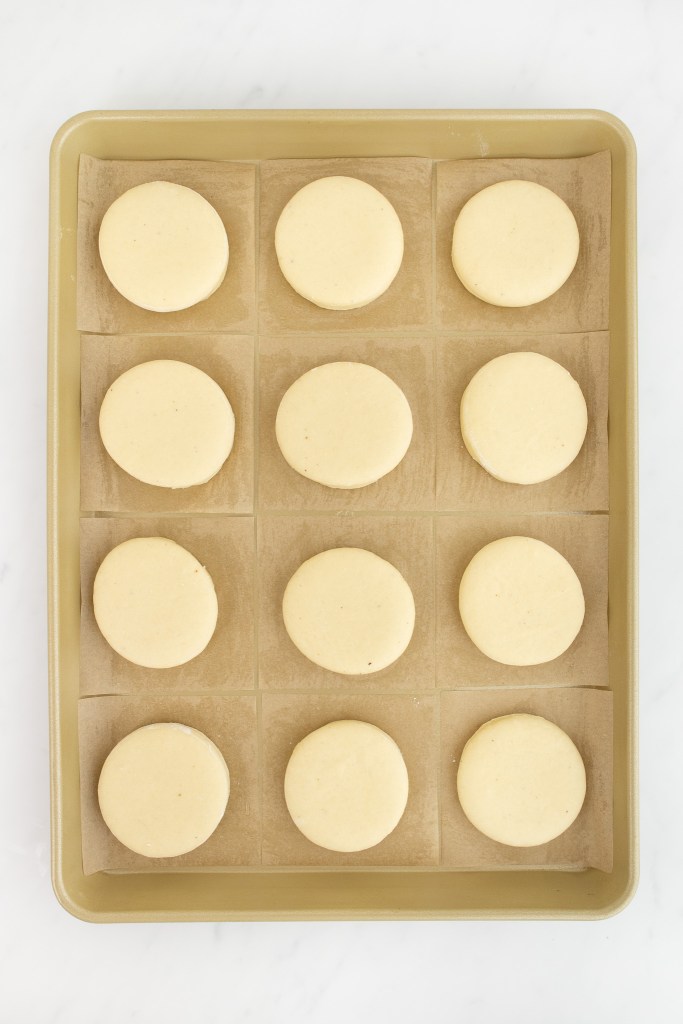
Before removing the dough from the refrigerator, cut out 12 to 15 squares of parchment paper roughly 4″ by 4″ and set them on a baking sheet. Lightly brush each square with vegetable oil. This will make it easier to handle the donuts after they have risen and will prevent them from deflating or losing their shape.
Note: If the parchment paper starts to curl, lightly grease the baking sheet first to help the paper stick in place.
Once the dough has chilled, turn it out on a floured surface. Gently shape it into a rough rectangle with your hands, pressing out all of the air as you go.
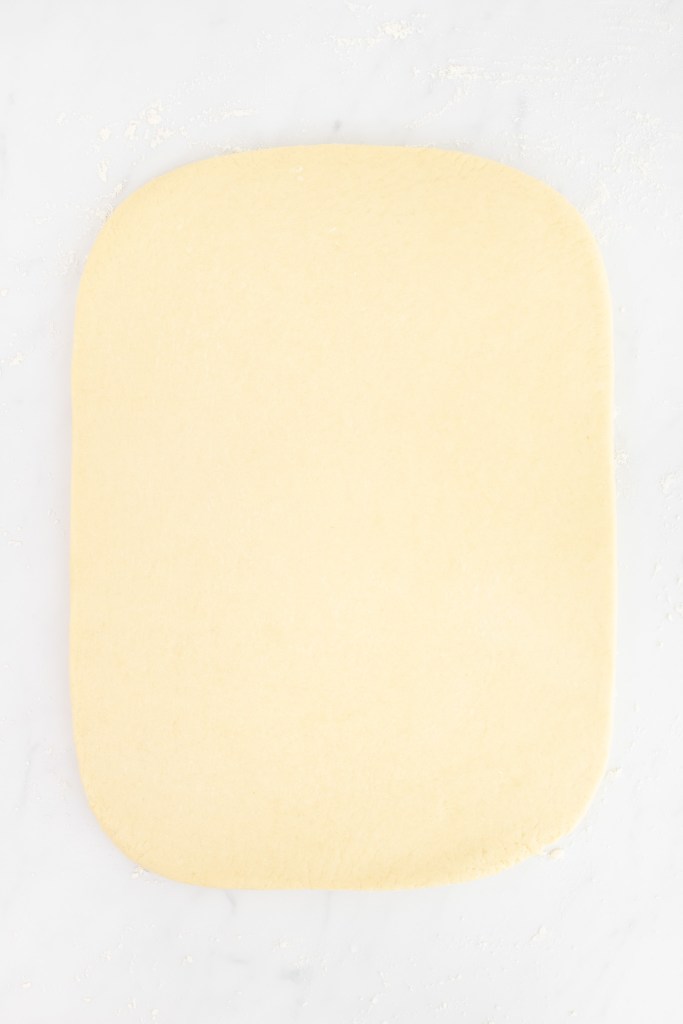
Using a floured rolling pin, roll out the dough into a rectangle about 13” by 10”.
Note: For an even rectangle, start with the rolling pin in the center of the dough and roll outward towards each corner in an “X” formation.
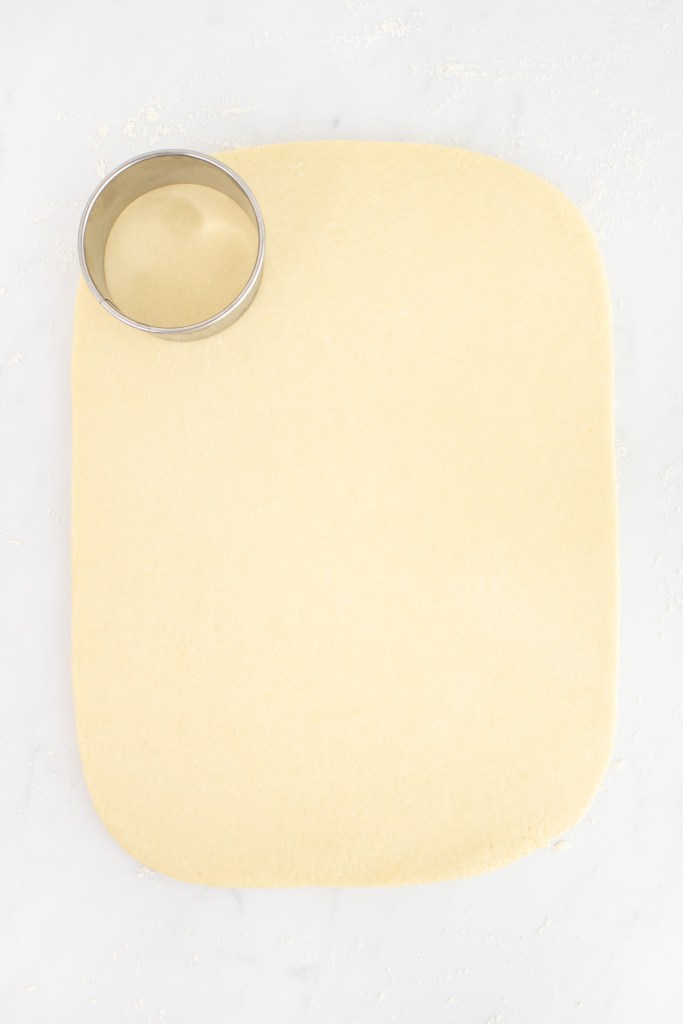
Using a 3” cutter, cut out the donut shapes.
Pro tip: Cut the donut shapes as close together as possible to make the most out of the dough. You can gather the scraps, reshape them into a ball, and re-roll out the dough, but keep in mind that these donuts will likely rise unevenly and come out misshapen when fried.
Place one donut on each square of parchment paper (on the prepared baking sheet). Then, set the baking sheet into the oven — which should be turned off!
Place a cake pan on the oven rack below the donuts and carefully pour 2 cups of boiling water into it. (This will create steam to help your donuts rise.) Close the oven door and allow the donuts to proof for about 45 to 60 minutes, until they are puffy and about 1 ½ times their original size.
Pro tip: From my testing, the proofing step is crucial to achieving perfect bakery-style donuts with that signature white ring around the edge. Make sure the donuts are very puffy and noticeably larger — this ensures that they’ll float properly in the oil and won’t turn out heavy or dense.
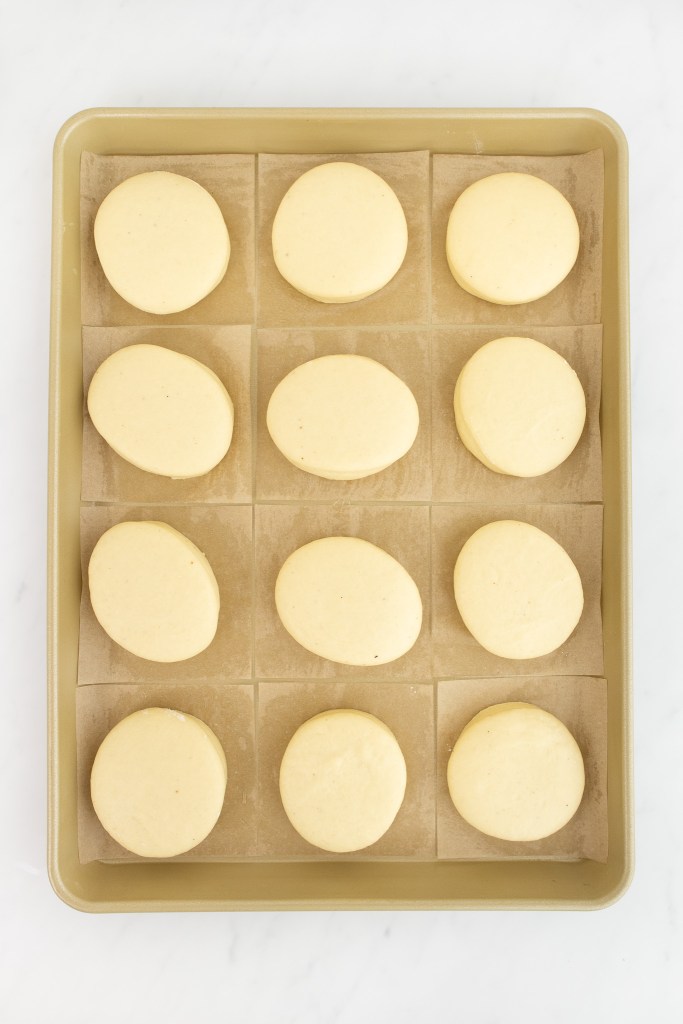
Near the end of the proofing time, in a large pot or Dutch oven, heat at least 2″ of vegetable oil to 350–360℉ on a candy thermometer.
Frying the Donuts
Prepare a sheet pan lined with a wire cooling rack and paper towels (to catch excess oil after frying the donuts). Set aside.
Once the vegetable oil reaches 350–360℉, fry the donuts until lightly golden brown on each side. (I recommend testing one donut first to ensure it has properly proofed before frying the rest, which you can do in batches of 3 to 4 at a time depending on the size of your pot.)
Set each fried donut on the prepared wire rack to drain and cool.
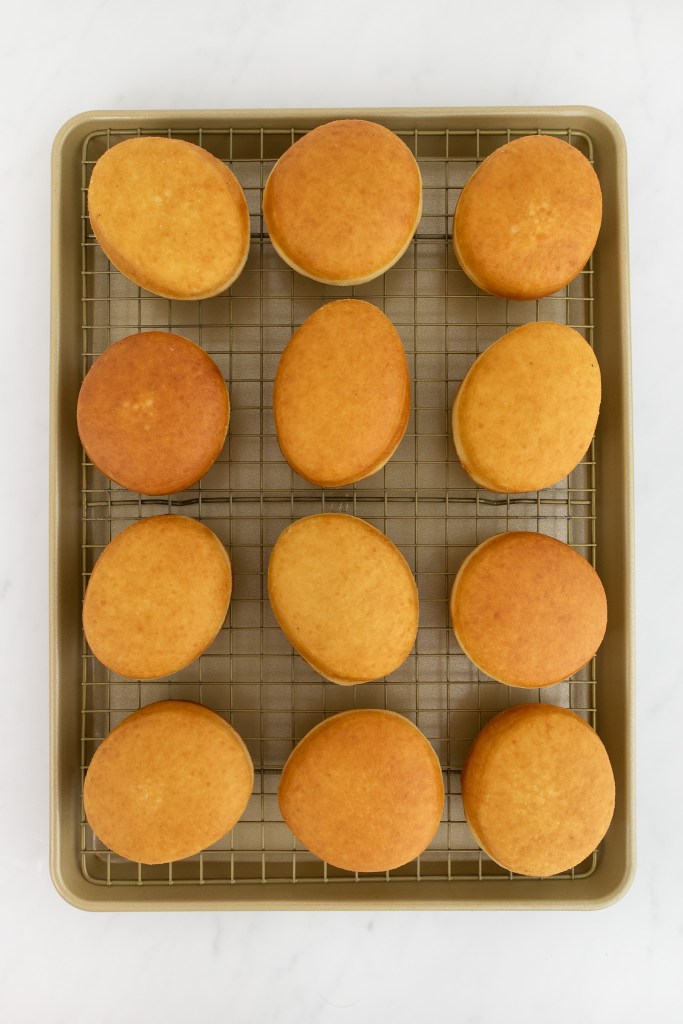
Filling the Donuts
Remove the pastry cream from the fridge and vigorously whisk it until smooth and creamy.
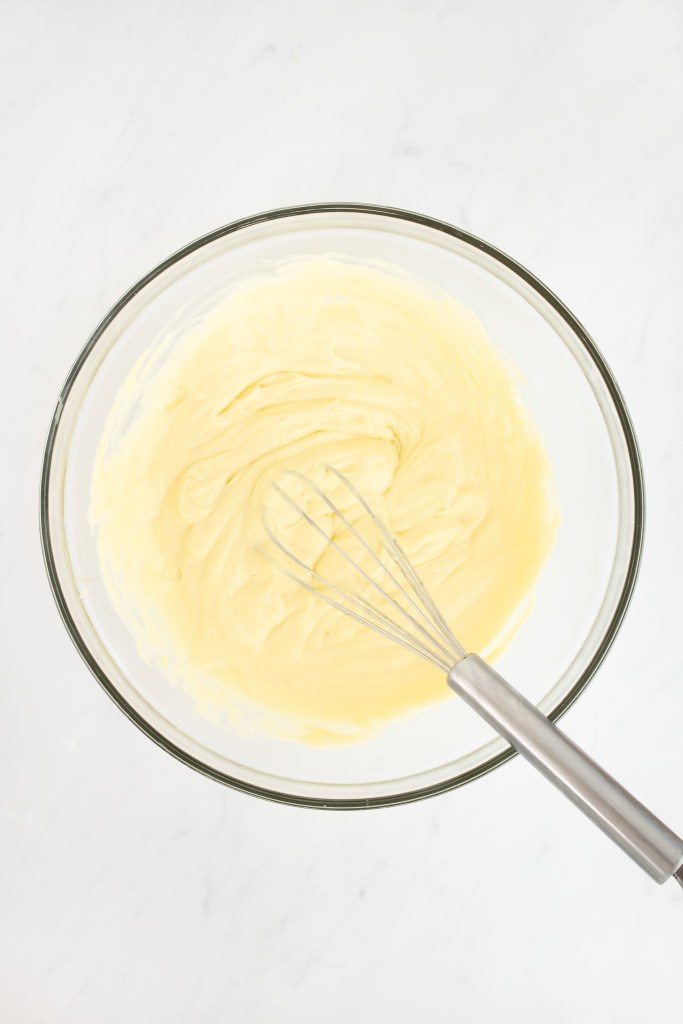
Spoon the pastry cream into a pastry bag fitted with a Bismarck piping tip for filling pastries and donuts.
Note: If you don’t have a pastry bag or Bismarck tip, I recommend using a wooden skewer (for making the holes in the donuts) and a plastic freezer bag with the corner cut (for piping). You may have to get creative with whatever you have lying around the house.

Holding a donut in one hand and the pastry bag in the other, insert the piping tip into the side of the donut and squeeze gently to fill the centre with pastry cream. Use your best judgment and the weight of the donut as a guide to gauge how much cream has been added.
Glazing the Donuts
Prepare a double boiler by setting a bowl over a saucepan filled with 2″ of water over low heat.
To the bowl, add in the heavy cream, butter, vanilla, and kosher salt. Heat until the butter is fully melted.
Next, add in the chocolate and corn syrup, and stir until the chocolate has melted and is completely smooth.
Still over heat, sift in the powdered sugar and whisk until no lumps remain.
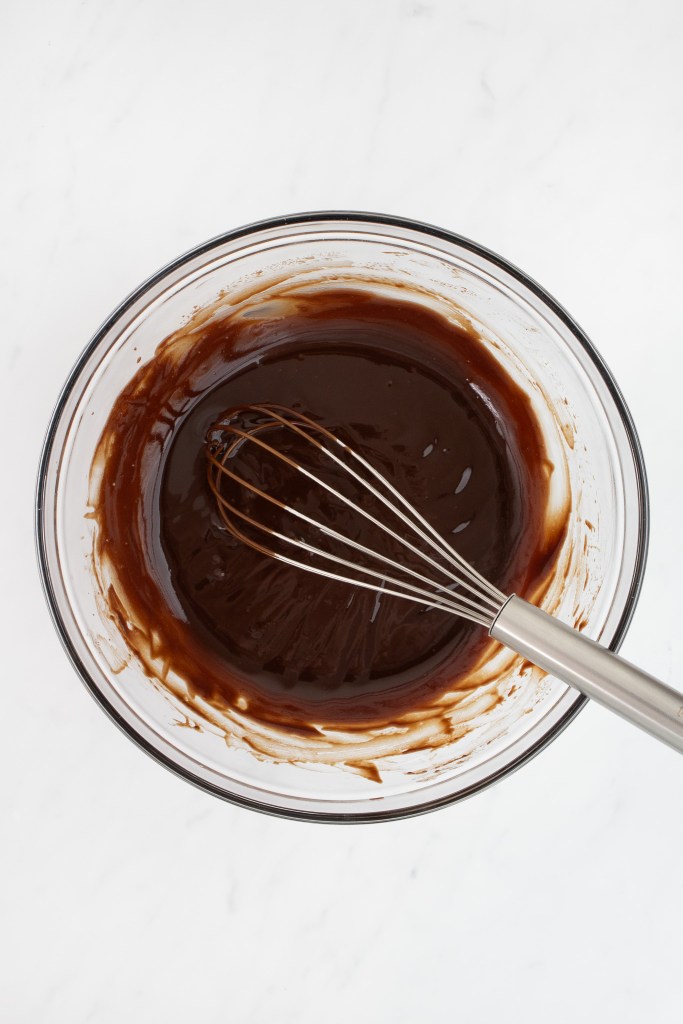
Carefully remove the bowl and place it on a wire wrack to cool for 10 to 15 minutes, until the chocolate has thickened slightly.
Note: Allowing the chocolate to thicken will create a thicker layer of chocolate on top of the donuts.
Dip each donut into the chocolate and place on a wire rack. Transfer the donuts into the fridge, uncovered, for 10 to 15 minutes to allow the chocolate to set before serving.
Store any remaining donuts in a single layer in an airtight container in the fridge for up to three days.
Boston Cream Donuts
Ingredients
- Pastry cream, chilled (click here for recipe)
For the Donuts
- ¼ cup tepid water (100–110℉)
- ⅓ cup + 1 Tbsp Tbsp granulated sugar, divided
- 1 tsp active dry yeast (less than 1 packet)
- 4 ½ cups all-purpose flour
- 1 ½ tsp kosher salt (I use Diamond Crystal)
- ¼ tsp ground nutmeg
- 2 large eggs, at room temperature
- 1 cup whole milk, tepid
- 1 tsp pure vanilla extract
- 8 Tbsp unsalted butter, softened and cut into ½" cubes
For the Chocolate Glaze
- 2 Tbsp heavy cream
- ¼ cup (½ stick) unsalted butter, cut into ¼" cubes
- ½ tsp pure vanilla extract
- ⅛ tsp kosher salt
- 5 oz semi-sweet chocolate chips, or chopped into ¼" chunks
- 1 Tbsp light corn syrup
- ¼ cup powdered (icing) sugar
Equipment
Instructions
Preparing the Pastry Cream
- Prepare the pastry cream (click for my homemade Pastry Cream recipe) and allow it to chill completely. This step can be completed the day before.
Proofing the Yeast
- In a small bowl or glass measuring cup, mix the tepid water, 1 Tbsp of granulated sugar, and yeast. Set aside until the yeast dissolves and the mixture begins to foam (about 5 minutes).¼ cup tepid water1 tsp active dry yeast
Preparing the Yeast Dough
- In the bowl of a stand mixer fitted with the dough hook attachment, combine the flour, salt, and nutmeg. Whisk together to combine.4 ½ cups all-purpose flour1 ½ tsp kosher salt¼ tsp ground nutmeg
- In another small bowl or glass measuring cup, whisk together the eggs, remaining ⅓ cup of granulated sugar, tepid milk, and vanilla.2 large eggs, at room temperature1 cup whole milk, tepid1 tsp pure vanilla extract
- To the bowl of the stand mixer with the dry ingredients, pour in the liquid mixture and the proofed yeast mixture. Before turning the mixer on, stir with a rubber spatula until there are no large patches of flour (this will give your dough hook a head start).
- Mix on medium-low speed until the dough is smooth, elastic, and pulls away from the sides of the bowl (about 8 to 10 minutes).Note: The dough will seem very sticky and may not look like it's coming together into a ball, but be patient — it just needs time!
- With the mixer still running, add in the cubed butter — a few pieces at a time — and continue to mix until all of the butter is fully incorporated and the dough begins to pull away from the sides and form a ball around the dough hook (this will take some time; about 10 to 15 minutes).Note: Don't get discouraged! The dough may appear gummy at first, but it should eventually pull away from the sides of the bowl as the butter fully incorporates. (You may also need to scrape down the sides of the bowl from time to time.) The finished dough should feel soft and slightly tacky — this is what gives the donuts their light, fluffy texture.8 Tbsp unsalted butter, softened and cut into ½" cubes
- Meanwhile, lightly grease a large bowl with vegetable oil and set it aside.
- Scrape the dough out of the bowl and form it into a ball by folding it over itself 2 to 3 times in your hands. Again, the dough should feel very soft, floppy, and slightly tacky.
- Place the dough into the greased bowl, cover with plastic wrap, and allow it to rise at room temperature for 30 minutes. Then, chill the dough in the refrigerator until it has doubled in volume (at least 4 hours, but ideally overnight).
Shaping and Proofing the Donuts
- Before removing the dough from the refrigerator, cut out 12 to 15 squares of parchment paper (roughly 4" by 4") and set them on a baking sheet. Lightly brush each square with vegetable oil. (This will make it easier to handle the donuts after they have risen and will prevent them from deflating or losing their shape.)Note: If the parchment paper starts to curl, lightly grease the baking sheet first to help the paper stick in place.
- Once the dough has chilled, turn it out on a floured surface. Gently shape it into a rough rectangle with your hands, pressing out all of the air as you go.
- Using a floured rolling pin, roll out the dough into a rectangle about 13" by 10".Note: For an even rectangle, start with the rolling pin in the center of the dough and roll outward towards each corner in an "X" formation.
- Using a 3" cutter, cut out the donut shapes.Pro tip: Cut the donut shapes as close together as possible to make the most out of the dough. You can gather the scraps, reshape them into a ball, and re-roll out the dough, but keep in mind that these donuts will likely rise unevenly and come out misshapen when fried.
- Place one donut on each square of parchment paper (on the prepared baking sheet). Then, set the baking sheet into the oven — which should be turned off.
- Place a cake pan on the oven rack below the donuts and carefully pour 2 cups of boiling water into it. (This will create steam to help your donuts rise.) Close the oven door and allow the donuts to proof until they are puffy and about 1 ½ times their original size (about 45 to 60 minutes).Pro tip: From my testing, the proofing step is crucial to achieving perfect bakery-style donuts with that signature white ring around the edge. Make sure the donuts are very puffy and noticeably larger — this ensures that they'll float properly in the oil and won't turn out heavy or dense.
- Near the end of the proofing time, in a large pot or Dutch oven, heat at least 2" of vegetable oil to 350–360℉ on a candy thermometer.
Frying the Donuts
- Prepare a sheet pan lined with a wire cooling rack and paper towels (to catch excess oil after frying the donuts). Set aside.
- Once the vegetable oil reaches 350–360℉, fry the donuts until lightly golden brown on each side. (I recommend testing one donut first to ensure it has properly proofed before frying the rest, which you can do in batches of 3 to 4 at a time depending on the size of your pot.)
- Set each fried donut on the prepared wire rack to drain and cool.
Filling the Donuts
- Remove the pastry cream from the refrigerator and vigorously whisk it until smooth and creamy.
- Spoon the pastry cream into a pastry bag fitted with a Bismarck piping tip for filling pastries and donuts.Note: If you don’t have a pastry bag or Bismarck tip, I recommend using a wooden skewer (to make holes in the donuts) and a plastic freezer bag with the corner cut (for piping). You may have to get creative with whatever you have lying around the house.
- Holding a donut in one hand and the pastry bag in the other, insert the piping tip into the side of the donut and squeeze gently to fill the center with pastry cream. Use your best judgment and the weight of the donut as a guide to gauge how much cream has been added.
Glazing the Donuts
- Prepare a double boiler by setting a bowl over a saucepan filled with 2" of water over low heat.
- To the bowl, add in the heavy cream, butter, vanilla, and salt. Heat until the butter is fully melted.2 Tbsp heavy cream¼ cup (½ stick) unsalted butter, cut into ¼" cubes½ tsp pure vanilla extract⅛ tsp kosher salt
- Add in the chocolate chips (or chunks) and corn syrup, and stir until the chocolate has melted and is completely smooth.5 oz semi-sweet chocolate chips, or chopped into ¼" chunks1 Tbsp light corn syrup
- Still over heat, sift in the powdered sugar and whisk until no lumps remain.¼ cup powdered (icing) sugar
- Carefully remove the bowl and place it on a wire rack to cool until the chocolate has thickened slightly (about 10 to 15 minutes).Note: Allowing the chocolate to thicken will create a thicker layer of chocolate on top of the donuts.
- Dip each donut into the chocolate and place it back on the wire rack. Transfer the donuts to the refrigerator, uncovered, to allow the chocolate to set before serving (at least 10 to 15 minutes).
- Store any remaining donuts in a single layer in an airtight container in the refrigerator for up to three days.