Over the years, I’ve tested so many different recipes, flavor profiles, and techniques to come up with the perfect roast chicken recipe. Borrowing from family tradition — as well as advice from some of the greats like Julia Child and Ina Garten — I think I’ve finally figured out my favorite!
The combination of aromatic vegetables, herbs, and just a hint of lemon — placed in the cavity of the chicken — give it such great flavor. A good helping of salt is also needed in the cavity, as it takes a lot of it to seep through into the meat to give the chicken great flavor and ensure that it doesn’t come out bland.
On this point, it’s important not to be too shy with the salt; I know we are all nervous about over-salting, but I always have to remind myself that I can be a bit less cautious when it comes to seasoning the inside of a roast chicken. So if you have a larger chicken, don’t be afraid to add an extra pinch or two of salt!
IS IT NECESSARY TO TRUSS A CHICKEN?
Another tip to a perfect roast chicken is the trussing step. Trussing the chicken ensures that all of the meat cooks evenly and so it doesn’t dry out.
It doesn’t need to be anything complicated, and you don’t have to go overboard to see great results! Simply tying the legs together makes a huge difference!
When the legs are not tied together, they tend to cook faster than the rest of the chicken and dry out.
I recommend also tucking the wings underneath the body — called “akimbo” — for the same reasons.
HOW TO COOK THE PERFECT ROAST CHICKEN
As much as I’d love to give detailed scientific instructions on how to perfectly roast a chicken, I’ve realized it’s pretty much impossible. So many things can affect the time it takes for cooking: the size of the bird, the temperature of the bird when you put it in the oven, the quantity of fillings inside, and the fact that all ovens seem to have a mind of their own. I think, as home cooks, we all have a unique understanding of (and sometimes tumultuous relationship with) our ovens.
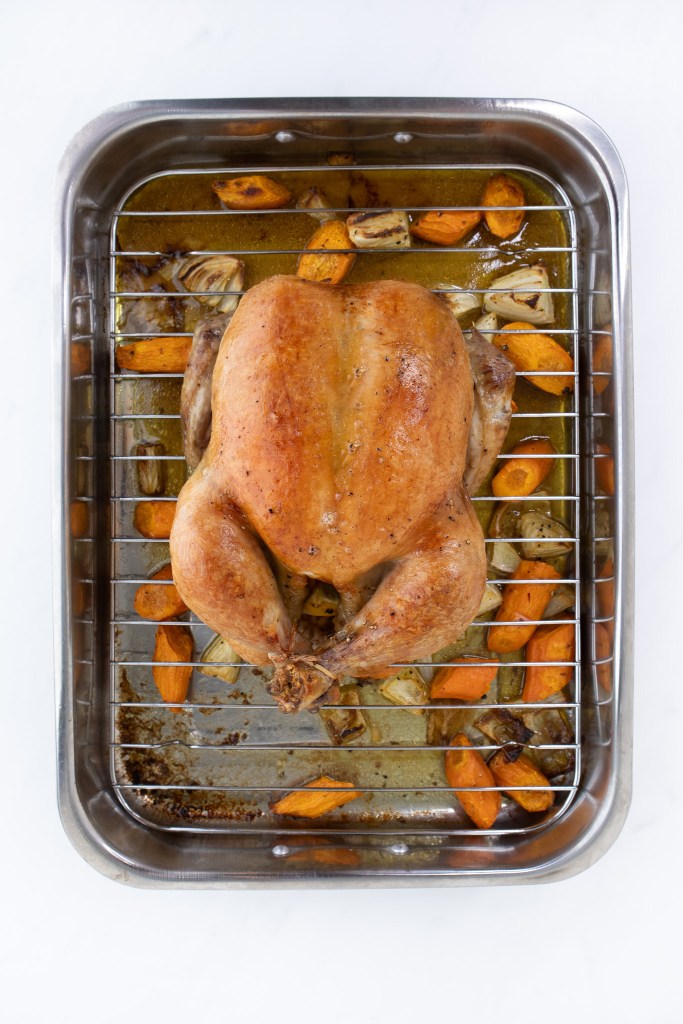
I’ve found that the best results (with my oven) come from cooking the chicken at 425℉ for about 1¼ to 1½ hours and basting it every 30 minutes or so.
One thing to note: at this temperature, the aromatic vegetables in the pan can burn if not watched. When you are basting the chicken, be sure to check the vegetables on the bottom of the pan. If they appear to be cooking too quickly, you can add ½ cup of water or chicken stock to the pan.
HOW TO GET PERFECTLY CRISP SKIN ON A ROAST CHICKEN
There are a few key techniques to get perfectly browned and crisp skin.
First, make sure you pat the skin dry with paper towels before beginning. This will allow the butter, salt, and pepper to stick.
Second, give the chicken a butter message before it enters the oven. This will help give the skin its lovely brown color.
Third, baste the chicken regularly. I recommend every 30 minutes or so.
Finally, if your chicken is fully cooked (and you aren’t completely happy with the skin color or level of crispiness), brush some more melted butter over the chicken and put the chicken under a high broiler at the end of its cooking. Make sure to carefully watch and position the bird to evenly brown all sides, covering any parts of the chicken that have already browned with aluminum foil.
HOW TO TELL WHEN A ROAST CHICKEN IS DONE
The easiest and most obvious way to tell when your chicken is fully cooked is to use a digital thermometer. The internal temperature should measure at least 165℉. That being said, it always seems that my digital thermometer runs out of battery (or otherwise takes the day off) just when I need it the most!
If that happens to you, there are few other ways to tell a chicken is fully cooked. The first thing you can do is press on the meat to see that it is firm and not squashy. Another way is to make a small cut between the leg and the thigh, checking to see if the juices run clear. If the juices are clear then the chicken is done. If they are red or pink, then return the chicken to the oven for as long as it needs.
HOW LONG SHOULD A ROAST CHICKEN REST BEFORE SERVING?
Let’s face it — your chicken has had a rough afternoon and needs a rest! When the chicken is done and out of the oven, be sure to cover it with aluminum foil and let it rest for at least 15 to 20 minutes. This allows the juices from the chicken to disperse back into the meat, making it that much more juicy. Trust me, it is well worth the wait!
Preheat the oven to 425℉.
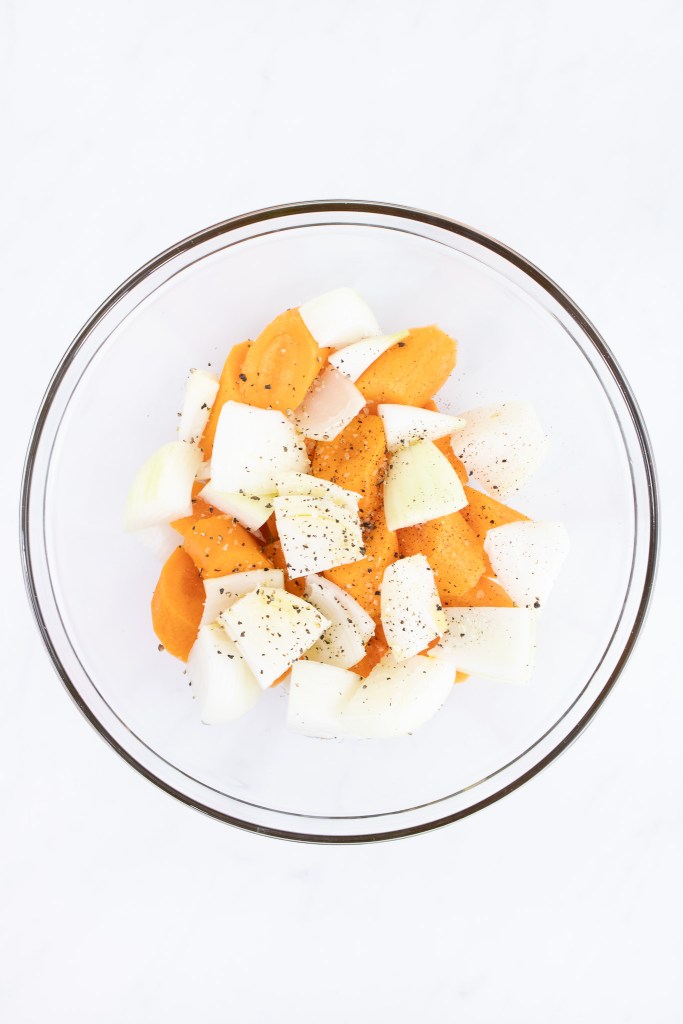
Start by preparing the vegetables that roast along with the chicken.
Wash and chop the onion and carrots. In the roasting pan (or in a large bowl), mix the chopped vegetables with the olive oil, salt, and pepper. Set the pan (or bowl) aside while preparing the stuffing.
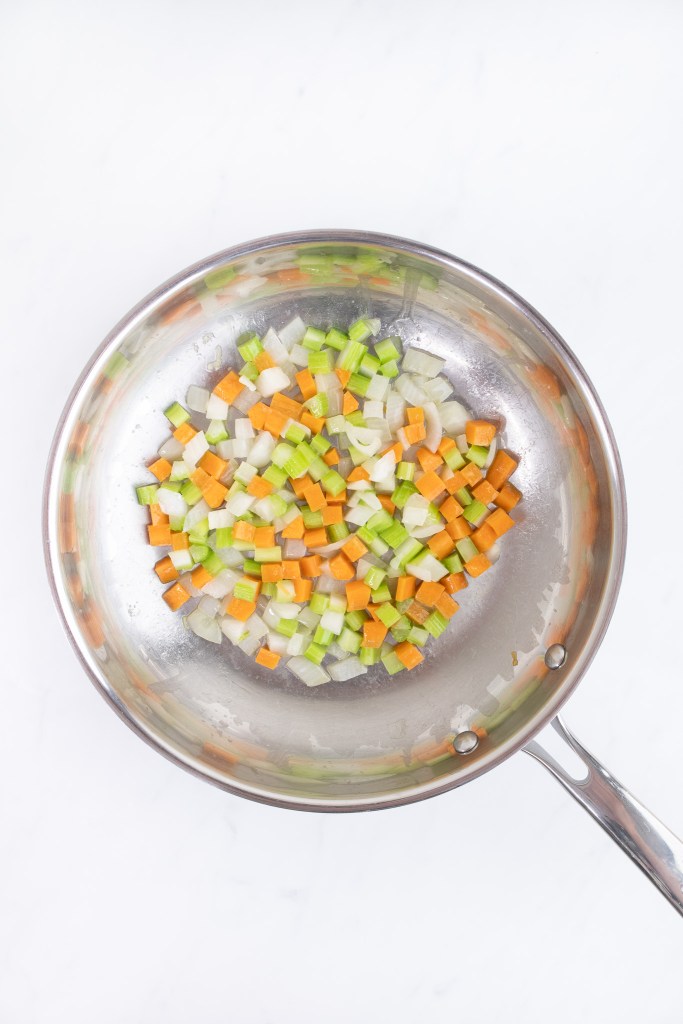
The stuffing consists of lemon, garlic, thyme, and a sautéed vegetable mixture called a “mirepoix”.
To make the mirepoix, wash and finely dice the onion, carrot, and celery.
In a frying pan, heat the butter and olive oil over moderate heat, just until the foaming subsides.
Add in the finely diced vegetables and sautée them for about 3 to 5 minutes, until they have softened. Remove the mirepoix from heat and set it aside while you prepare the chicken for stuffing.
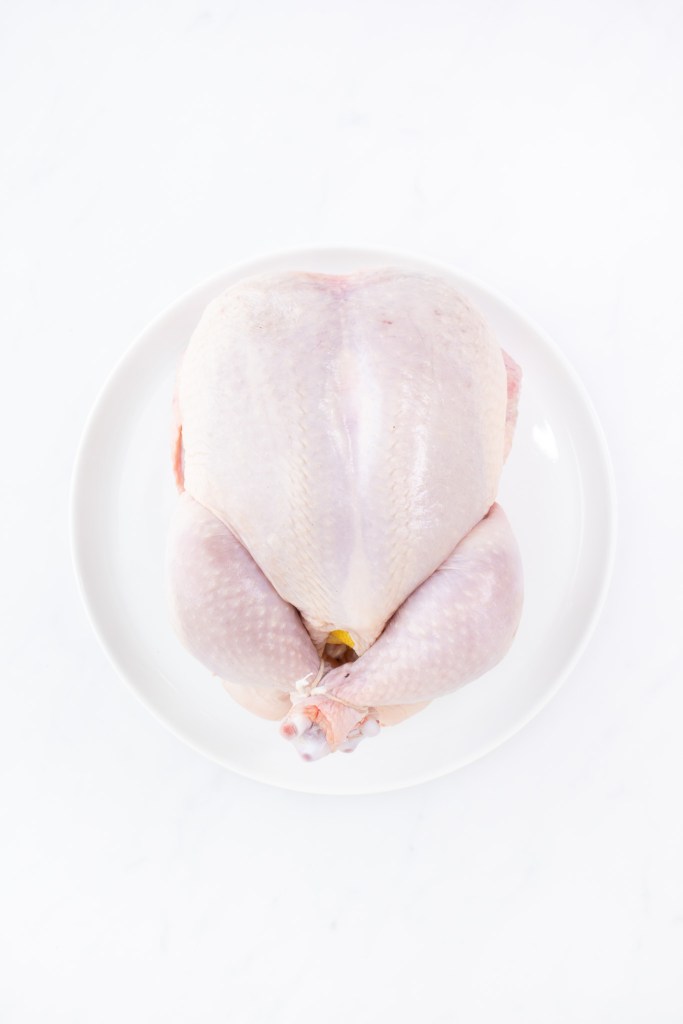
Remove the giblets from the chicken cavity and any remaining pin feathers from the outside of the chicken. Pat the chicken dry with paper towel.
Tip the chicken to expose the cavity and season the inside of the chicken with salt and pepper.
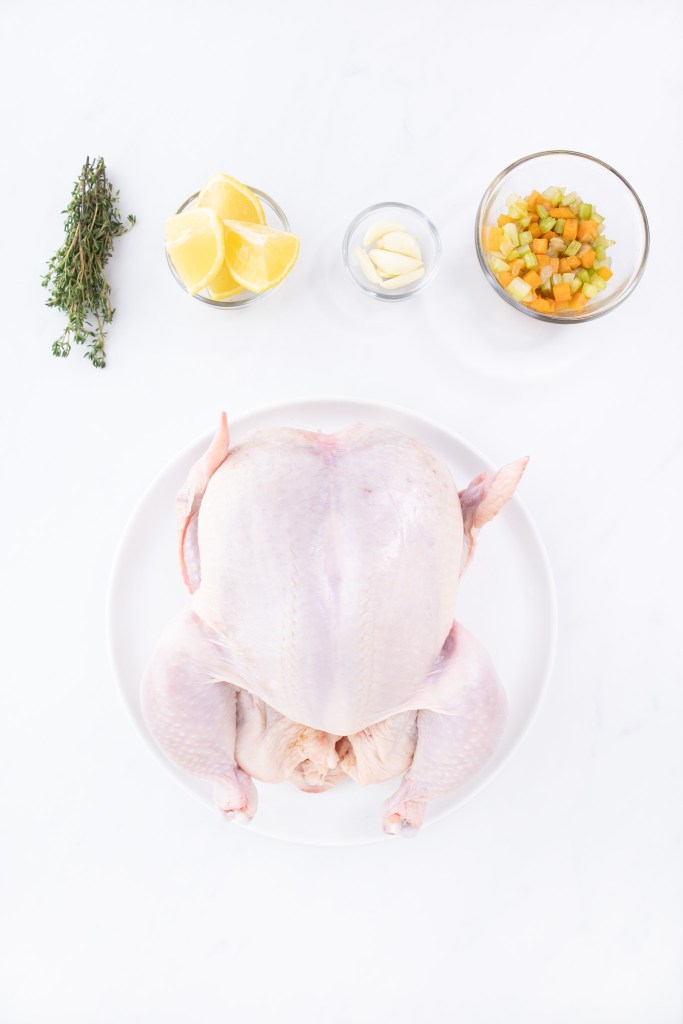
Fill the chicken with the mirepoix, along with the lemon wedges, garlic, and fresh thyme.
With kitchen twine or string, truss the chicken by tying the legs together.
Place the stuffed chicken into the roasting pan, either on top of a rack or directly on top of chopped vegetables.
Brush the chicken with melted butter and sprinkle with salt and pepper.

Set the roasting pan — with the chicken and vegetables — in the oven (preheated to 425℉) on the middle rack and cook for 15 minutes.
Quickly remove the pan from the oven and brush the chicken with any remaining melted butter you have from before. If you notice that the vegetables are beginning to burn — or are worried that they might — add in ½ cup of water or chicken stock to the bottom of the pan.
Continue cooking the chicken for about another hour, until it reaches an internal temperature of 165℉. Baste the chicken every 20 to 30 minutes with the pan juices or melted butter.
Remove the pan from the oven and cover it with aluminum foil. Allow the chicken to rest for 15 to 20 minutes before carving and serving.
How to Roast a Chicken

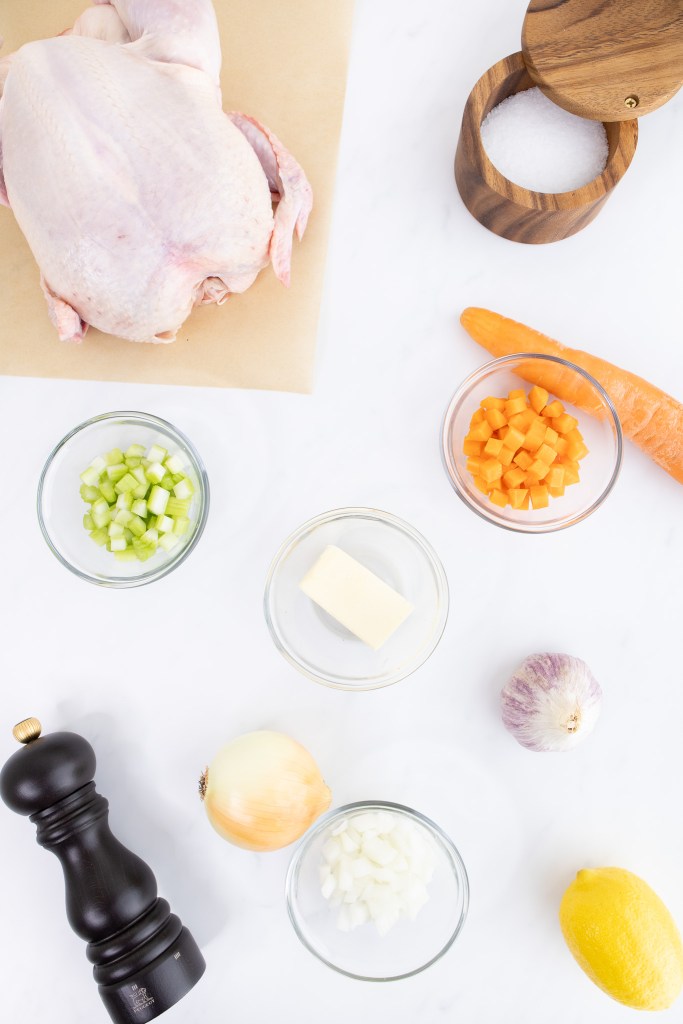
Ingredients
- 1 whole chicken (approx. 4 pounds)
For the Roasting Vegetables
- 1 Tbsp extra virgin olive oil
- 1 medium onion, peeled and cut into large slices
- 4 large carrots, washed, peeled, and roughly chopped into large chunks
- ½ tsp kosher salt (I use Diamond Crystal)
- ¼ tsp ground black pepper
For the Mirepoix (Sautéed Vegetable Mixture) for the Stuffing
- 1 Tbsp unsalted butter
- 1 tsp extra virgin olive oil
- ⅓ cup onions, finely diced (about ½ medium onion)
- ⅓ cup carrots, finely diced (about ½ large carrot)
- ⅓ cup celery, finely diced (about 1 large stalk of celery)
For the Stuffing
- Mirepoix (sautéed vegetable mixture) (as prepared in this recipe)
- ½ lemon, cut into wedges
- 4 large cloves of garlic, peeled and sliced
- 10 sprigs of fresh thyme, whole
- 1 tsp kosher salt
- ¼ tsp ground black pepper
For Seasoning the Chicken
- 2 Tbsp unsalted butter, melted
- ½ tsp kosher salt
- ¼ tsp ground black pepper
Instructions
Preparing the Roasting Vegetables
- Preheat oven to 425℉.
- Wash and chop onion and carrots to roast along with chicken.1 medium onion, peeled and cut into large slices4 large carrots, washed, peeled, and roughly chopped into large chunks
- In the roasting pan (or a large bowl), mix together chopped vegetables with olive oil, salt, and pepper. Set aside.1 Tbsp extra virgin olive oil½ tsp kosher salt¼ tsp ground black pepper
Preparing the Mirepoix (Sautéed Vegetable Mixture) for the Stuffing
- Wash and dice onion, carrot, and celery for the mirepoix.⅓ cup onions, finely diced⅓ cup carrots, finely diced⅓ cup celery, finely diced
- Heat butter and olive oil in a frying pan over moderate heat, until the foaming subsides.1 Tbsp unsalted butter1 tsp extra virgin olive oil
- Add in finely diced vegetables. Cook until softened (about 3 to 5 minutes).
- Remove from heat and set vegetable mixture aside.
Stuffing the Chicken
- Remove giblets from chicken cavity and remove any remaining pin feathers. With paper towel, pat chicken dry.
- Tip the chicken to expose the cavity and season the inside with salt and pepper.1 tsp kosher salt¼ tsp ground black pepper
- Fill the chicken with the mirepoix, along with the lemon wedges, garlic, and fresh thyme.½ lemon, cut into wedges4 large cloves of garlic, peeled and sliced10 sprigs of fresh thyme, wholeMirepoix (sautéed vegetable mixture)
- With kitchen twine or string, truss the chicken by tying the legs together.
- Place stuffed chicken into the roasting pan, either on top of a rack or directly on top of chopped vegetables.
- Brush chicken with melted butter. Season with salt and pepper.2 Tbsp unsalted butter, melted½ tsp kosher salt¼ tsp ground black pepper
Roasting the Chicken and Vegetables
- Set the roasting pan (with the chicken and vegetables) in pre-heated oven on the middle rack. Cook for 15 minutes.
- Remove pan from oven and brush chicken with any remaining melted butter. If vegetables begin to burn, add ½ cup water or chicken stock to bottom of pan.
- Continue cooking until internal temperature of chicken reaches 165℉ (about 1 hour more), basting it every 20 to 30 minutes with pan juices or melted butter.
- Remove pan from oven, cover with aluminum foil, and allow chicken to rest for 15 to 20 minutes before carving. Serve warm.
Notes
- When seasoning the cavity of the chicken (Step 9), make sure to add in enough salt. It may seem like a lot, but a good amount is required to give the chicken enough flavor. If you have a larger bird, don’t be afraid to add an extra pinch or two!
- When basting the chicken (Step 16), keep an eye on the vegetables in the pan to make sure they aren’t cooking too quickly. If you notice they are, add ½ cup of water or chicken stock to the pan.
- At the end of the cooking time (Step 17), if the skin isn’t browned enough to your liking, brush the chicken with some extra melted butter. Place it under the broiler for the last few minutes, rotating and re-positioning it to brown and crisp evenly, and covering any darker parts with aluminum foil, as needed.