I developed and tested this recipe with the goal of being as informative as possible. Though it may seem intimidating, the technique is really quite simple to master. If you are new to roll cakes, just follow the instructions carefully and your jelly rolls will turn out perfect, every time!
WHAT TYPE OF CAKE IS A JELLY ROLL MADE FROM?
A jelly roll — also called a Swiss roll or roulade — is made from a classic French sponge cake called a génoise.
Sponge cakes are traditionally made by combining beaten eggs with flour and sugar, along with any desired flavorings (such as vanilla). They have no chemical leavening agents (baking powder or baking soda) and rise only from the air incorporated into the eggs when preparing the batter. This is why it is important to follow the recipe closely and work relatively quickly: if the batter is overmixed or let sit for too long, the eggs may begin to deflate. As a type of sponge cake, the génoise is made in exactly the same manner, except with the addition of butter.
This recipe calls for the egg whites and egg yolks to be beaten separately, and then combined at the end, just before baking. It also uses oil, rather than butter, to improve the cake’s flexibility for rolling.
USING OIL FOR JELLY ROLL CAKES (RATHER THAN BUTTER)
For jelly rolls, it’s best to use oil rather than butter. The sponge cake used to make a jelly roll needs to be moist and flexible enough to be rolled without splitting or cracking. Though oil is less flavorful than butter, it gives the cake a spongier texture. This added flexibility allows the sponge cake to be rolled more easily, resulting in a perfectly made jelly roll.
A REMINDER WHEN BEATING THE EGG WHITES
When making jelly rolls, the egg yolks and egg whites need to be beaten separately into two different bowls before being folded together at the end. You need to be sure that no egg yolk or any oils get into the egg whites, as this will prevent them from whipping up as they should.
BEST KITCHEN TOOLS FOR PREPARING THE BATTER
If you have a small kitchen (like me) and/or limited equipment, I have found that the best equipment to use is an electric hand mixer and two bowls (one for the egg yolks and one for the egg whites). This allows me to quickly rinse off the beaters (after beating the egg yolks) before beginning to beat the egg whites.
If you have both, you could also use a stand mixer for the egg whites combined with a hand mixer for the egg yolks — it’s completely up to you! Alternatively, if you are looking for a good arm workout, you could also do everything by hand using a wire whip.
But whatever kitchen tools you use, make sure to have a game plan, work fairly quickly, and ensure that none of the egg yolk or oil is transferred into the egg whites (otherwise they won’t whip up as they should).
THE BEST FILLING FOR JELLY ROLL CAKES
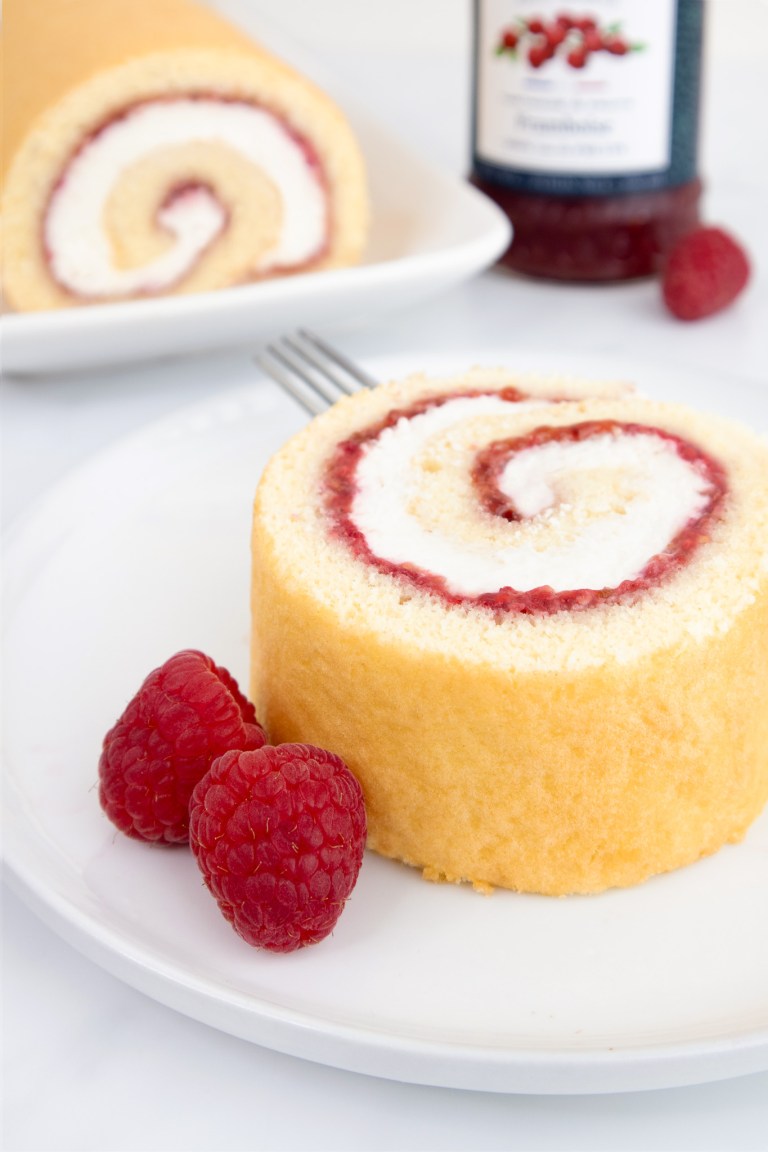
My favorite filling for jelly rolls almost always includes some kind of fruit and whipped cream — it just makes such a light and refreshing dessert. This recipe actually uses two layers (that are delicious and perfectly complement one another): a mixture of raspberry jam and fresh raspberries, and a homemade whipped cream stabilized with cream cheese. You can follow my recipe exactly, or just simply fill your jelly roll with your favorite jam.
THE BEST PAN FOR JELLY ROLL CAKES
This recipe is specifically formulated for a jelly roll pan — specifically one that is 10″ by 15″, which really is the perfect size. If you don’t have one, I really do recommend purchasing one, as roll cakes are such a fun and creative addition to any home cook’s repertoire. They are fairly small and inexpensive and can be used for so many different things. This is the one that I use and recommend.
You could also use a half sheet pan (like this one), but I would double the recipe and only fill the pan so that the batter is about ½” thick. You can always bake any remaining batter in a separate cake pan and use it for something else.
Start by preheating your oven to 350℉.
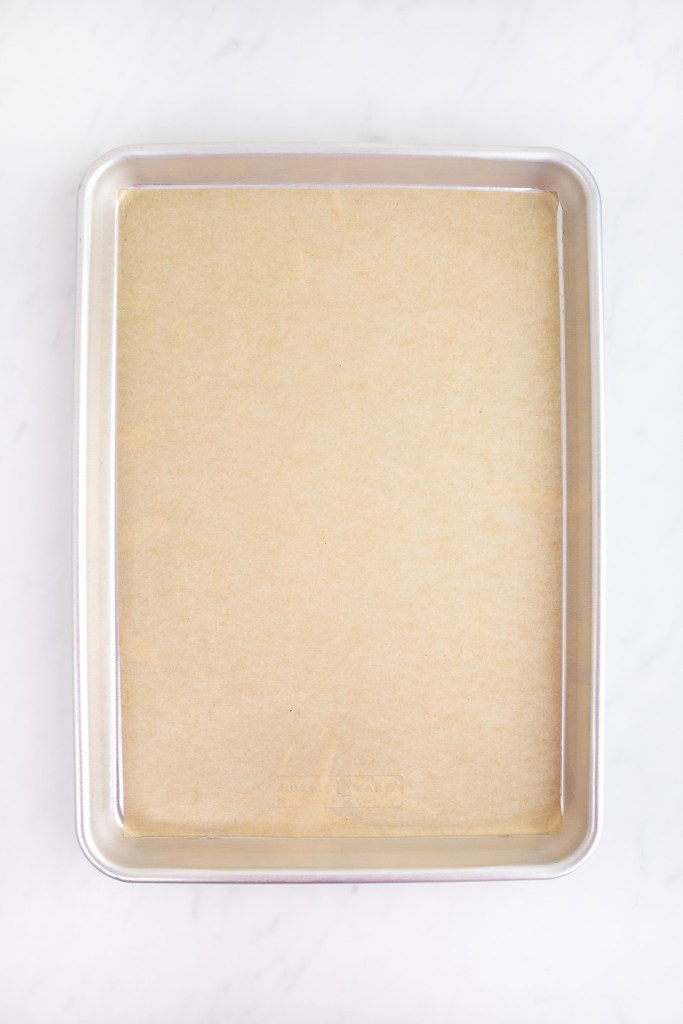
Using a pastry brush (or your fingers) and a small amount of oil, grease the bottom of a 10” by 15” jelly roll pan. Do not grease the sides of the pan; we actually want the cake to stick to the sides of the pan to help it rise.
Cut out a piece of parchment paper so that it lines only the bottom of the pan and place it on top of the oil, pressing down so that there are no air bubbles.
Separate out the egg yolks and the egg whites into two large bowls.
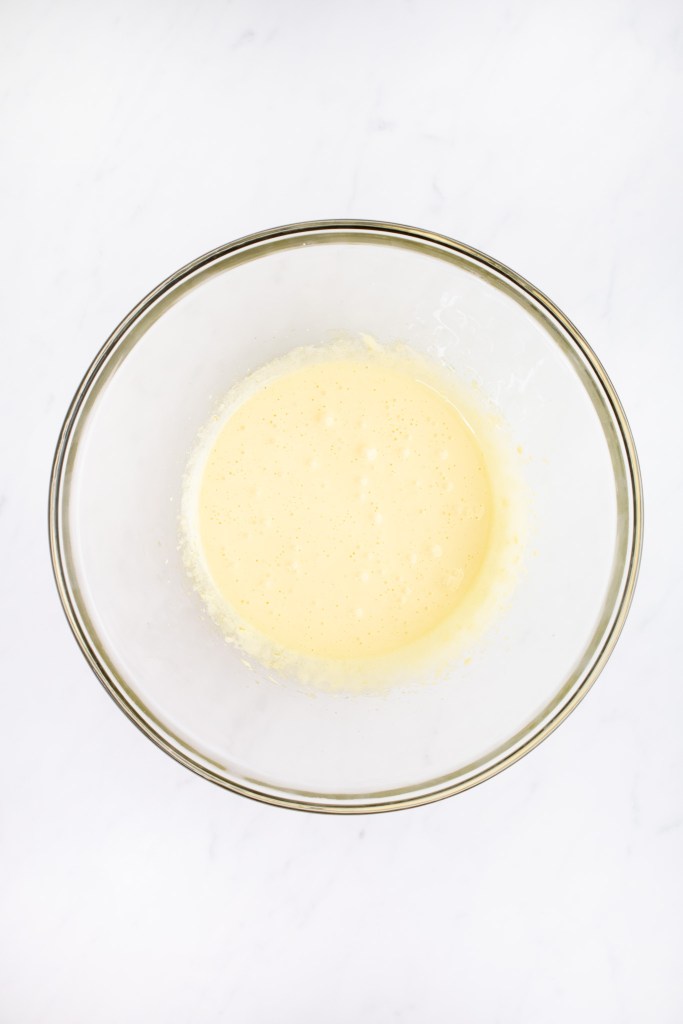
In the first large bowl, using a hand mixer (or in the bowl of a stand mixer fitted with the wire whip attachment), beat the four egg yolks for about one minute, until homogenous.
Then, with your mixer on a medium-high speed, continue to beat the egg yolks while slowly pouring in ¼ cup of sugar. Continue to beat the sugar and egg yolks until the mixture is pale yellow and forms a slowly dissolving ribbon on the surface when you lift the beaters from the mixture.
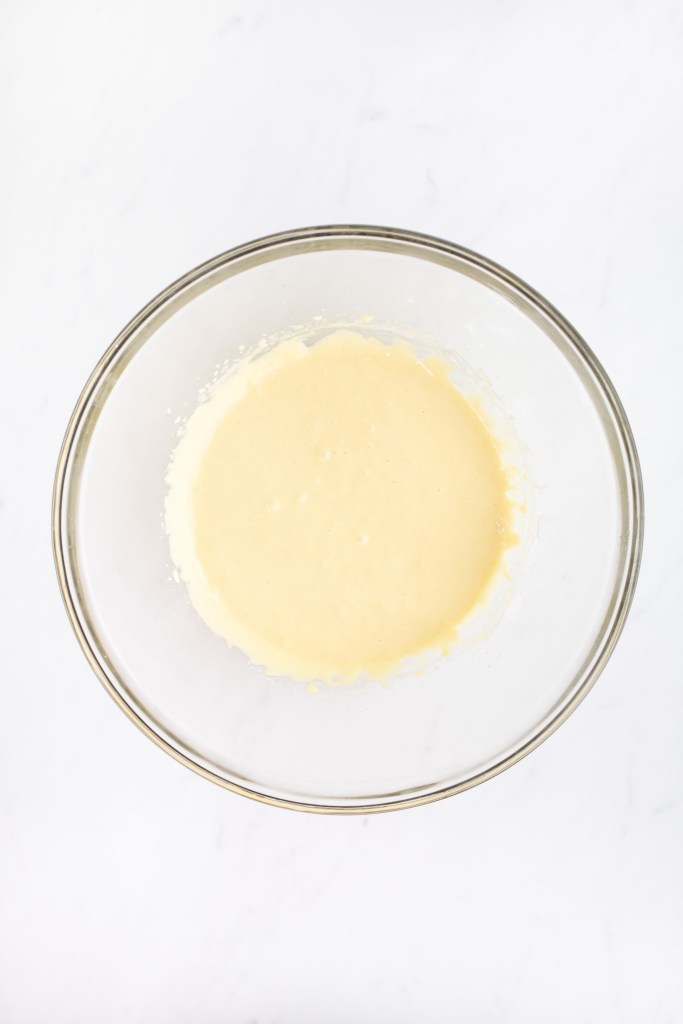
With the mixer still on a medium-high speed, slowly drizzle in the vegetable oil, followed by the vanilla, until fully combined.
Turn the mixer down to low speed and add in about half of the flour and ¼ teaspoon of salt. Mix for a few seconds until most of the flour is incorporated. Add in the milk, followed by the remaining flour. (Just remember: half the dry ingredients, liquid, second half of the dry ingredients).
Continue to mix until just combined. Using a rubber spatula, wipe down the sides and bottom of the bowl, ensuring that all of the flour has been incorporated. Set the egg yolk base aside while preparing the egg whites.
In the second large bowl (or in the clean bowl of a stand mixer fitted with the clean wire whip attachment), beat the four egg whites on high speed for 30 seconds, until they begin to foam. Remember that the bowl and mixer attachments need to be clean from any oils or residue so that the egg whites will mount properly!
Sprinkle in the cream of tartar and ¼ teaspoon of kosher salt, and continue to mix on high speed for 60 seconds.
With the mixer still on high speed, slowly sprinkle in the remaining ¼ cup of sugar. Continue to whip the egg whites until they form stiff peaks, but are still silky and smooth in texture.

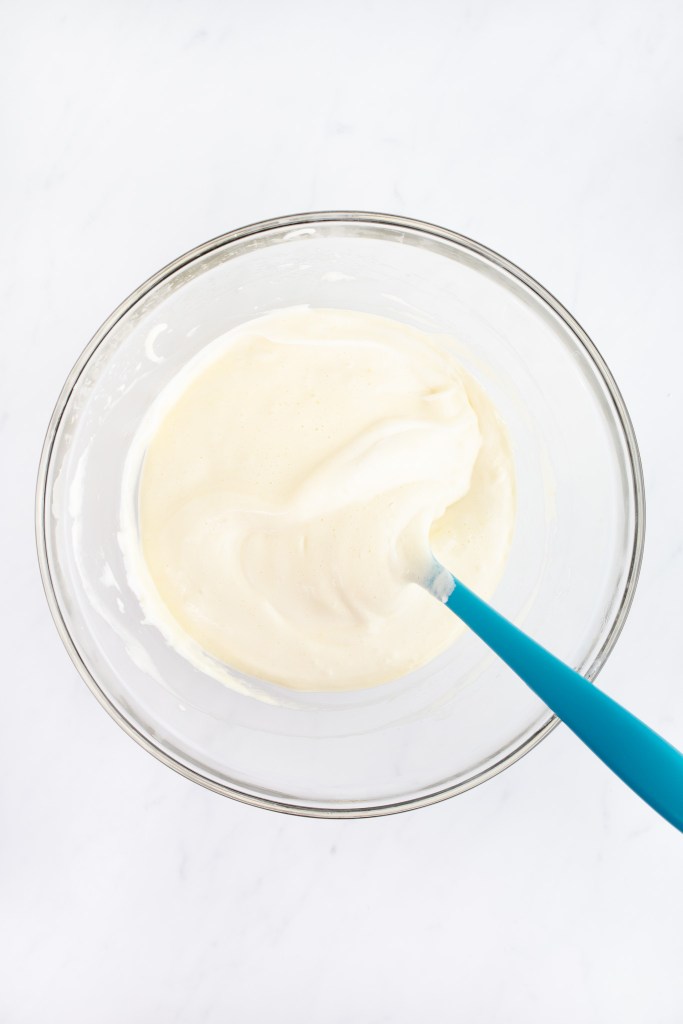
Using a rubber spatula or large spoon, fold about ¼ of the egg whites into the egg yolk base. This will lighten the mixture so that the remainder of the egg whites can be folded in more easily.
Add in the rest of the egg whites and fold them in gently. The goal here is to have the final batter free from any streaks, but not to deflate the air that has been beaten into the eggs.
Pour the batter into the prepared jelly roll pan and spread into an even smooth layer. Firmly tap the pan onto the counter once or twice to further even out the batter and pop any large air bubbles.

Bake the cake in the center of the oven for 18 to 20 minutes, until the cake turns lightly golden brown and springs back when pressed gently with your finger.

When the jelly roll cake is done baking, allow it to cool for exactly five minutes in the pan. After the five minutes, pass a knife around the edges of the cake to release it from the pan.
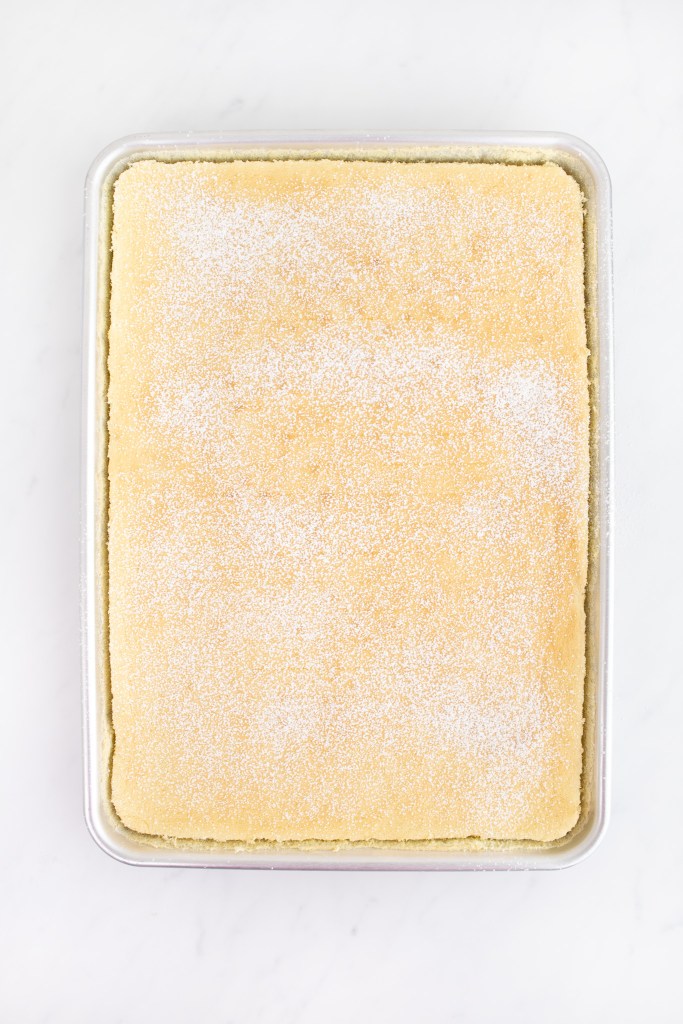
Sprinkle the top of the cake with powdered sugar (this is to prevent sticking) and cover it with a clean kitchen towel or parchment paper. (After testing many different methods, I recommend using a kitchen towel for the best results. It doesn’t trap as much steam, leading to condensation and, ultimately, more sticking!)
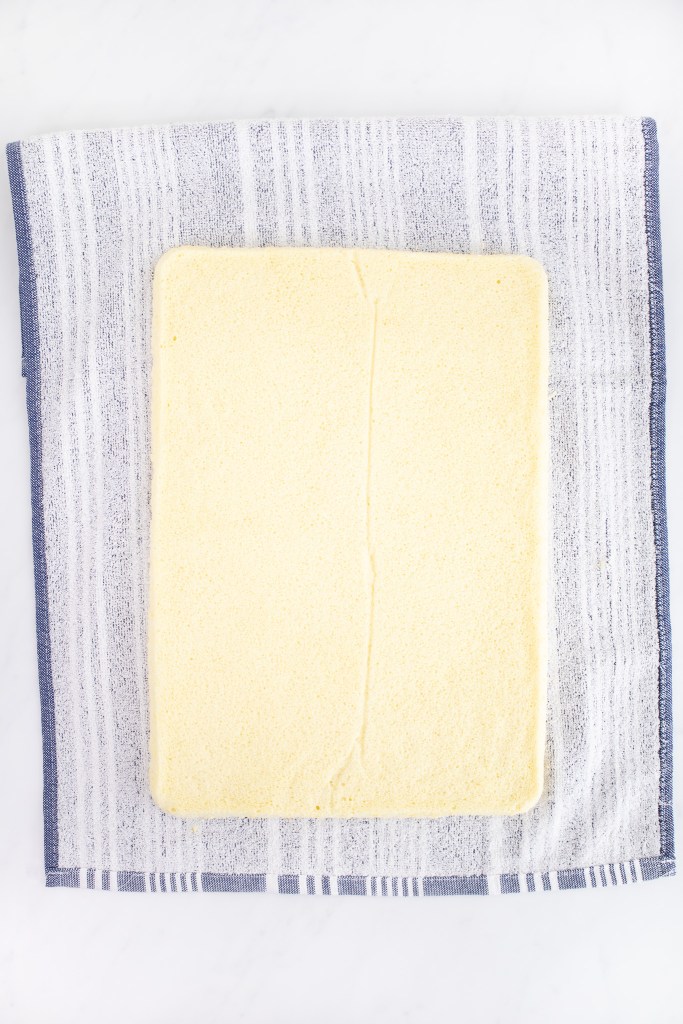
Invert the cake (with the towel) onto a flat surface and remove the pan and piece of parchment paper from the bottom (now top) of the cake. I recommend using a wire rack or large sheet pan to assist in flipping the cake over.
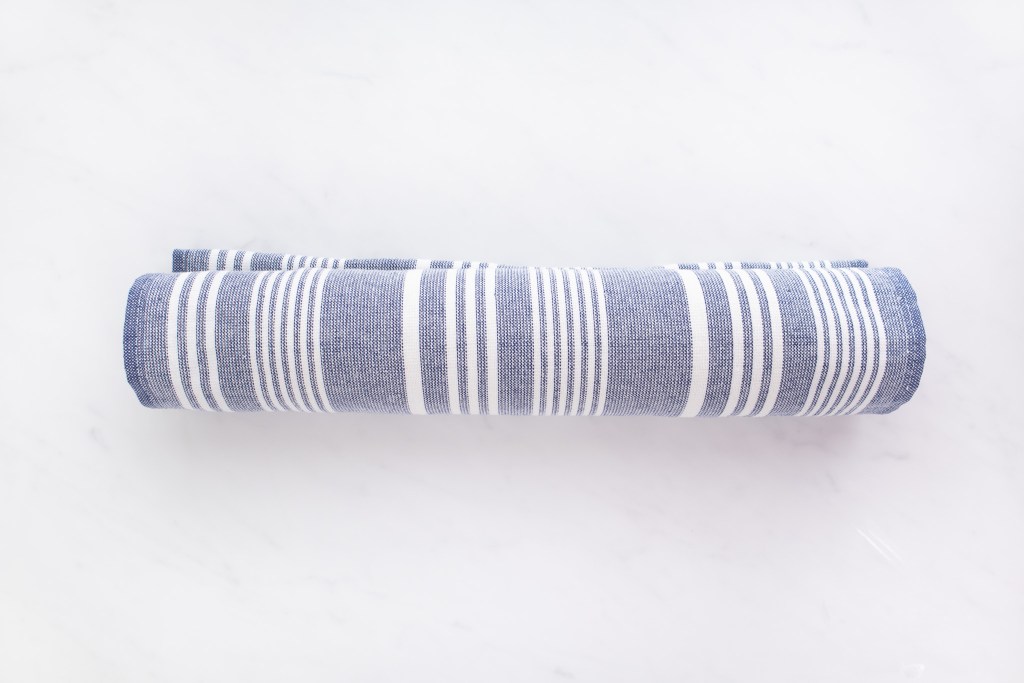
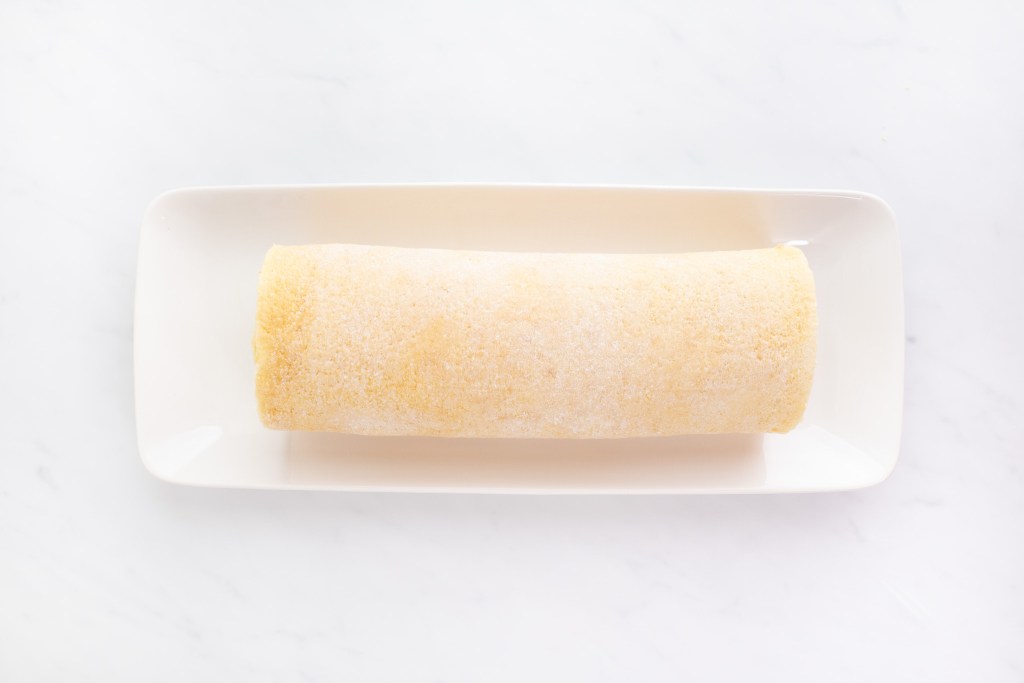
Gently roll the cake (along with the kitchen towel) into a spiral, resting the cake on the seam. This will help “train” the cake to form into a spiral shape without cracking.

Allow the cake to cool completely while it is rolled up.
While the cake is cooling, prepare the fresh raspberry jam and cream cheese-stabilized whipped cream.
First, add the jam and raspberries into a small bowl and mash them together with a fork until no large pieces of berry remain. Set the fresh raspberry jam in the fridge to chill.


Then, in the bowl of a stand mixer fitted with the wire whip attachment, beat the cream cheese on high speed until it is smooth and free from any lumps.
Add in the powdered sugar and vanilla, and continue mixing until the mixture is smooth and creamy and has the texture of a cream cheese frosting.
With the mixer on, slowly pour in about ¼ of the cream and beat until smooth.
Slowly pour in the remaining cream and continue to whip until stiff peaks form. Remember, you want the whipped cream to be stiff enough so that it doesn’t ooze out (as much) from your cake.
Cover the cream cheese-stabilized whipped cream with plastic wrap and keep it chilled in the fridge until you begin assembling your jelly roll.
Once the cake is fully cooled, gently unroll it from the kitchen towel.
Spread an even layer of jam mixture onto the cake, leaving a bit of space around the edges so that the filling doesn’t ooze out.

Spread the whipped cream into an even layer (about ¼” thick) on top of the jam layer.

Very gently roll the cake back into its spiral shape. Set the cake on a platter (again resting it on its seam), cover with plastic wrap, and chill for at least 30 minutes.
Serve the jelly roll sliced with any remaining fresh raspberries and whipped cream on the side.
The Perfect Jelly Roll Cake (Gâteau Roulé)
Ingredients
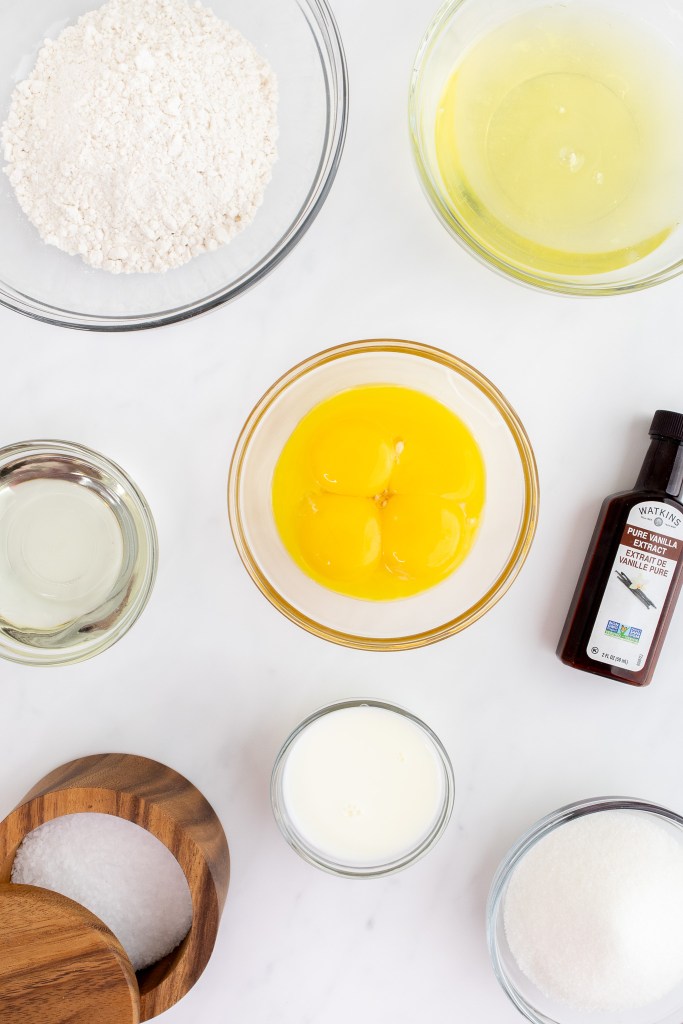
For the Roll Cake
- 4 large eggs, at room temperature
- ½ cup granulated sugar, divided
- ¼ cup vegetable oil (plus more for greasing the pan)
- 1 tsp pure vanilla extract
- ½ tsp kosher salt, divided (I use Diamond Crystal)
- ¾ cup cake flour (spooned and leveled)
- 2 Tbsp milk, at room temperature
- ¼ tsp cream of tartar
- Powdered (icing) sugar (for dusting)
For the Filling (optional)
- ⅔ cup raspberry jam (I like St. Dalfour Red Raspberry Fruit Spread)
- ½ cup fresh raspberries
- ¼ cup full-fat cream cheese, chilled
- 1 cup heavy cream, chilled
- 2 Tbsp powdered (icing) sugar
- ½ tsp pure vanilla extract
Instructions
Preparing and Baking the Cake
- Preheat oven to 350℉.
- Using a pastry brush (or your fingers), grease the bottom (but not the sides) of a 10" x 15” jelly roll pan with vegetable oil. Line the bottom of the greased pan with parchment paper, pressing down to remove any air bubbles. Set aside.Pro tip: By not greasing or covering the sides of the pan, the cake sticks to the sides of the pan, helping the cake to rise while baking.
- Separate egg yolks into one large bowl and egg whites into a second large bowl.4 large eggs, at room temperature
- Using an electric hand mixer (or a stand mixer fitted with the wire whip attachment) on high speed, beat the egg yolks until homogenous (about 1 minute).
- Reduce the mixer to medium-high speed and slowly pour in ¼ cup of sugar. Continue to beat until mixture is pale yellow and forms a slowly dissolving ribbon on the surface of the mixture (about 5 minutes).
- With the mixer still on medium-high speed, slowly drizzle in vegetable oil, then vanilla, until fully incorporated.¼ cup vegetable oil1 tsp pure vanilla extract
- Reduce the mixer to low speed and add in roughly half of the flour, along with ¼ tsp salt. Mix until most of the flour is incorporated. Add in milk, followed by the remaining flour. Mix just until combined, scraping down the sides of the bowl with a rubber spatula, as necessary. Set aside.¾ cup cake flour2 Tbsp milk, at room temperature
- In the second large bowl (or in the clean bowl of a stand mixer fitted with the clean wire whip attachment), beat egg whites on high speed until they begin to foam (about 30 seconds).Pro Tip: For the egg whites to mount properly, the bowl and mixer attachments need to be clean from any oils or egg yolk residue.
- Sprinkle in cream of tartar and ¼ tsp of salt. Continue to mix on high speed for 60 seconds.¼ tsp cream of tartar
- With the mixer still on high speed, slowly sprinkle in the remaining ¼ cup of sugar. Continue to whip egg whites until they form stiff peaks, but are still silky and smooth in texture (about 3 minutes).
- Using a rubber spatula or large spoon, fold ¼ of the egg whites into the egg yolk base. Add in remaining egg whites and gently fold into mixture just until fully incorporated (so as not to deflate the eggs).
- Pour the batter into the prepared jelly roll pan and spread into a smooth, even layer. Firmly tap the pan onto to counter once or twice to further level out the batter and pop any large air bubbles.
- Bake in the center of the oven until cake turns lightly golden brown and springs back when pressed gently (about 18 to 20 minutes).
Forming the Jelly Roll
- Remove the cake from the oven. Allow to cool for exactly 5 minutes. After 5 minutes, pass a knife around the edges of the cake to release it from the pan.
- To prevent sticking, sprinkle top of the cake with powdered sugar. Cover with a clean kitchen towel or piece of parchment paper.Pro Tip: I recommend using a kitchen towel for the best results. Other coverings may trap steam, leading to condensation and further sticking.
- Using a wire rack or large sheet pan, invert the cake onto a flat surface. Carefully remove the pan and parchment paper from the (now) top of the cake.
- Starting from the short side of the cake, gently roll the cake (along with the kitchen towel) into a spiral, resting the final roll on its seam. Allow to cool completely. (This step "trains" the cake to retain the spiral shape without cracking.)
Preparing the Filling (Optional)
- While the cake is cooling, prepare the fresh raspberry jam and cream cheese-stabilized whipped cream.
- In a small bowl, combine raspberry jam and fresh raspberries. Mash together with a fork until no large pieces of berry remain. Set aside in the refrigerator.⅔ cup raspberry jam½ cup fresh raspberries
- In the bowl of a stand mixer fitted with the wire whip attachment, beat cream cheese on high speed until it is smooth and free from any lumps. Add in powdered sugar and vanilla. Continue beating mixture until smooth and creamy. (It should have the texture of cream cheese frosting.) With the mixer on low speed, slowly pour in roughly ¼ cup of the cream and whip until smooth. Slowly pour in remaining cream and continue to whip until stiff peaks form. Chill, covered, in the refrigerator.¼ cup full-fat cream cheese, chilled1 cup heavy cream, chilled2 Tbsp powdered (icing) sugar½ tsp pure vanilla extract
Assembling the Jelly Roll
- Once fully cooled, gently unroll the cake and separate it from the kitchen towel.
- Spread an even layer of jam mixture onto the cake, leaving about an inch of space around the edges (so that the filling doesn’t ooze out).
- Spread the cream cheese-stabilized whipped cream into an even layer of about ¼" thickness on top of the jam layer.
- Very gently roll the cake back into its spiral shape. Set the cake on a platter, again resting the roll on its seam. Cover with plastic wrap and chill in the refrigerator for at least 30 minutes.
- Serve, sliced, with any remaining fresh raspberries and whipped cream.
Notes
- Pan Size: This recipe is specifically formulated for a jelly roll pan that is 10” x 15”. This is the one I use and recommend. If you don’t have a jelly roll pan, you could also use a half sheet pan (like this one), but be sure to double the recipe and only fill the pan so that the batter is about ½” thick.